Contents
Step 1: Identify your audience and define the purpose of the tutorial video
Step 2: Arrive at the your tutorial video script
Step 3: Record a mock recording of the script
Step 4: Decide on a screen recorder and record your video
Step 5: Edit and fine-tune your video tutorial recording
Step 6: Share your tutorial video on the platform of your choice
How to Make a Tutorial Video by Recording Your Screen
Tutorial videos are gaining popularity immensely over the last few years. The job of companies creating and selling products/services doesn’t stop immediately with the product or service being developed and released. In fact, the main job comes after the product or service is offered to the world, which is to make the users use the product/services regularly. Tutorial videos play an integral role in getting users to use the product/service frequently.
Moreover, the traditional form of tutorials which include booklets and pamphlets doesn’t work in the modern-day video-first world. In fact, 69% of people prefer videos over text to learn about a product. This further establishes the importance of tutorial videos.
Contrary to popular belief, creating a tutorial video isn’t tough at all and the job of creating a tutorial video is further easier if you do it using a screen recorder. In this blog, we look at a six-step process on how to make a tutorial video by recording your screen.
How to make a tutorial video by recording your screen in six simple stepsTo make tutorial video creation easy we have created this step-by-step guide with tips and checklists that will aid you in creating high-quality, engaging tutorial videos.
Step 1: Identify your audience and define the purpose of the tutorial video
Tutorial videos serve the purpose better when it solves one problem at a time. In order to determine the purpose of the tutorial video, you need to understand the audience who’ll be looking out for the same and watching your tutorial video.
The next step, as much as it is tempting to create a tutorial video covering the lengths and breaths of the problems that potential viewers and product users face, is better to restrict yourself and address one problem statement at a time.
Creating a long, elaborate, and exhaustive tutorial video will likely make potential viewers bored beyond a point that dissolves the purpose of video tutorials. Pick up one problem statement/topic that you want to address in your tutorial video and build your script and then the video around it.
Here is a checklist created to help you identify your audience and define the purpose of your tutorial video

- Who will watch your tutorial video
- What specific problem are they facing (Problem statement)
- How will the video benefit them from solving the problem
- How long will the final tutorial video be
Answering the above four questions will clearly help you in creating a good video tutorial.
Pro tip: Ensure your tutorial video does not cross a time frame of 5-10 minutes, anything longer than that will bore the viewers. You can always create multiple tutorial videos and club them together in folders or playlists which can be easily consumed later.
Step 2: Arrive at the your tutorial video script
Recording tutorial videos without a script may sound enticing but a script helps you record a clear tutorial video. Preparing a tutorial video script is a necessity before planning to record your tutorial video. Unlike other video forms, you need not have to spend a lot of time writing a creative tutorial video script. A basic script with normal language will be more than enough. Remember you’re trying to guide a user or helping them solve a problem and not selling them your product to use fancy language.
Here is a checklist that you can run by after arriving at your tutorial video script

- Avoid complex language on the script
- Refrain from using filler words on the script (Filler words are defined as words that are meaningless and add little value to the sentence)
- Ensure that the length of the script and the ideal duration of the tutorial video match
Pro tip: Instead of directly jumping to write a script, look at a few references of similar video tutorials to see what others have done and improve from there to produce high-quality tutorial videos.
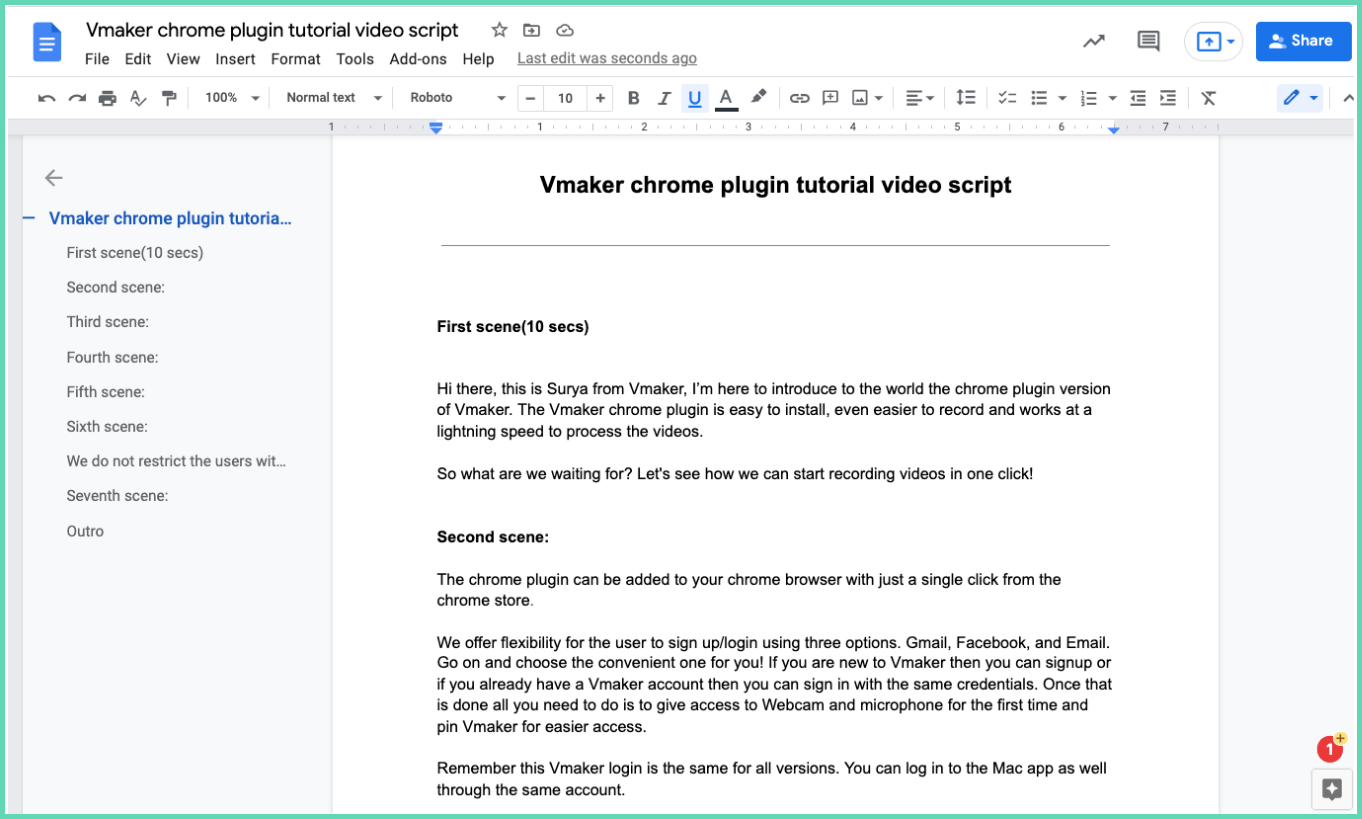
Tutorial video script example:
Here is an example of a tutorial video script for the chrome plugin version of Vmaker.

Step 3: Record a mock recording of the script
Often ignored, a mock recording of the script is very essential to fine-tune the language and understand which sections of the script need to be edited and fine-tuned. The purpose of this step is to ensure good language and also a good flow of the overall video.
This exercise helps remove complex words from the script thus making the language of the script much simpler and easier to understand. Similarly, the mock recording also enables one to smoothen the flow of the video. The one who is recording the video will know where to click, what to do next, etc While recording. This ensures unwanted cuts and pauses are not there and enabling a great visual and audio correlation.
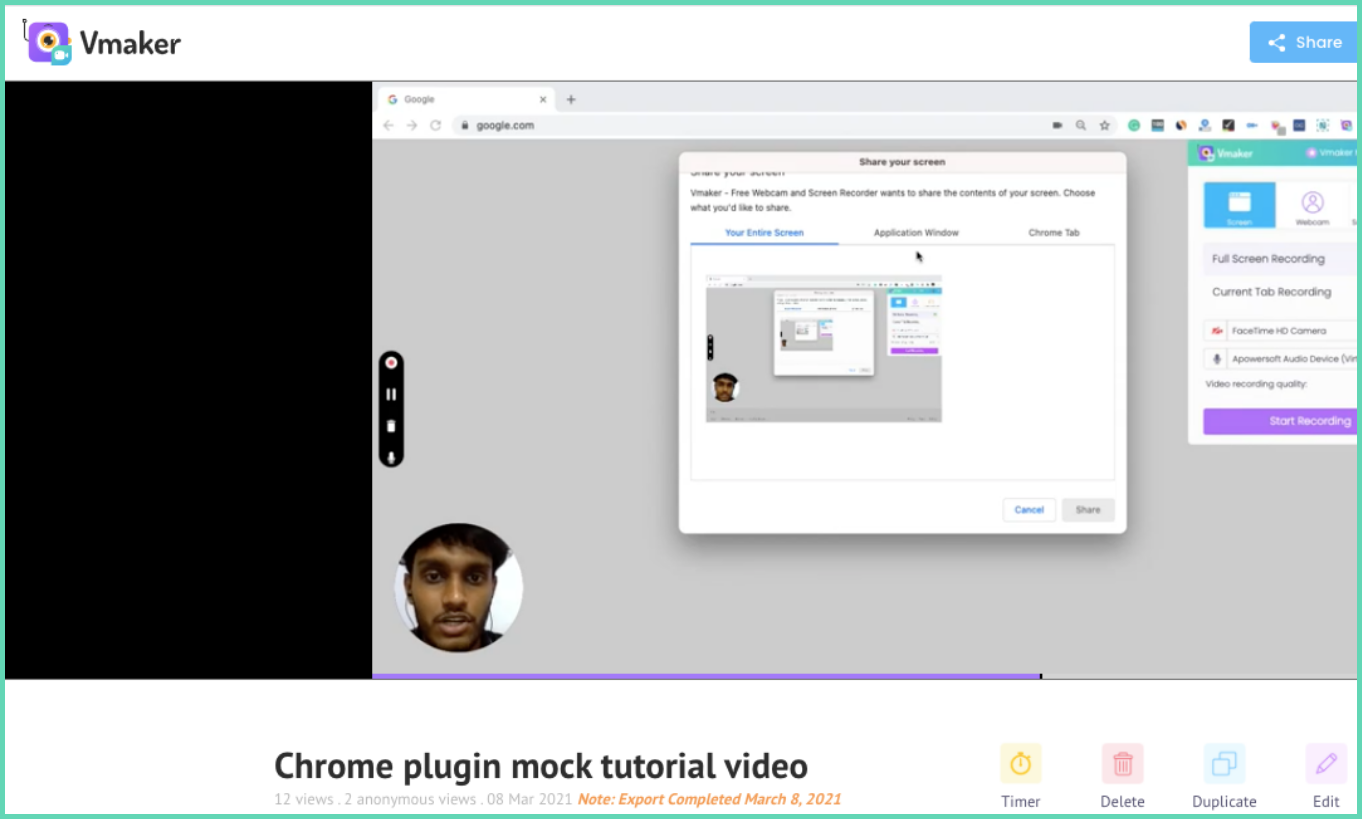
Here is the mock recording of the tutorial video script mentioned above.

Link to the Mock tutorial video recording
Step 4: Decide on a screen recorder and record your video
Deciding on the best screen recorder and the tutorial video software for creating tutorial videos is very crucial in producing a high-quality tutorial video. There are quite a lot of tutorial video makers but the best tutorial video software out of all of them would be Vmaker.
Vmaker is a screen recording and video tutorial maker that helps you record tutorial videos at 4K HD. You can record by sharing your screen, camera, or both. Not just that, you can further enhance your recording by adding mouse clicks and screen annotations to highlight and specify certain things on the screen. All of this makes it the ideal screen recording tool to record tutorial videos.
Once you’re set with everything, click on the record option on the Vmaker app or and start recording your tutorial video. Remember if there’s a hiccup while recording you can simply pause the recording and then continue once the issue/problem is sorted. This helps in smoothly editing the video as well. Once you’re done click on finish recording. The video recording gets uploaded to the cloud automatically in just a few seconds.
Pro tip: Ensure that your screen is clear of unwanted icons and close all open applications which might interfere during the recording process. You can also choose custom recording dimensions available on Vmaker to ensure a smoother recording process.
If you’re recording a webcam overlay as well then adding a frame or filter over the webcam overlay would make the recording, even more, engaging for the audience.
Step 5: Edit and fine-tune your video tutorial recording
Once you’re done recording you can edit the videos and fine-tune them using our AI video editors. The Vmaker comes with an online AI video editor which allows you to edit your tutorial video recordings. In just one click, you can transform your recording into stunning creations with AI. It automatically adds subtitles, b-rolls, background music, text animations, transitions, and more.
The Vmaker editor gives you the ability to trim and merge certain sections of the recording effortlessly allowing you to fine-tune your videos to perfection. Don’t worry if you have made any pauses or mistakes during the recording you can trim them out with ease.
An intro and outro to your tutorial video further improves the quality of your tutorial videos and gives them a richer outlook. Vmaker video editor allows you to upload multiple external videos as scenes. This allows you to add intros, outros. Once you’re done editing you can export the video and the final version of your tutorial video will be available with you on the same video URL.
Pro tip: Make use of the scenes feature of the Vmaker editor to easily trim and merge certain sections of the video to perfection
Step 6: Share your tutorial video on the platform of your choice
Tutorial videos are created by different individuals, it could be marketing team members of a product, YouTubers, independent content creators and the mode of sharing the tutorial videos is different in each case.
To make it convenient for all of the use cases Vmaker has multiple options to share your final tutorial videos. Users can download the entire video in MP4 format which is the traditional way of doing it. The other options, first of which is by directly uploading it to YouTube from Vmaker itself which comes in handy for YouTubers.
The second option is by sharing the URL link of the video, before doing so users can customize the page with a custom domain name, CTA, logo, and colors that resonate with their brand. The last option is that users can directly embed the final version of the tutorial videos in any website, email campaign as they wish.
If you’re an organization then the need to have a separate video hosting platform to upload and track video engagements is nullified with the customization and tracking options in Vmaker.
Here is the final version of the Vmaker chrome tutorial video.
The script and mock recording of the same were mentioned in a few steps above.
So this concludes the step-by-step guide for creating tutorial videos by recording your screen and we hope this guide enables you to record tutorial videos with ease. Do check out and sign up for Vmaker video tutorial software and start recording video tutorials for free.
Tutorial videos are step-by-step video guides that enable viewers to understand how to perform an action or complete a sequence of tasks to attain desired results.
Check out this guide to know everything about tutorial videos.
What is the best way to create a tutorial video?Screen recording videos with webcam overlay is the best way to record a tutorial video. This form of tutorial video is easy to create and also adds a human touch which enables users to easily understand the video tutorials and implement the same themselves.
What is the best software to create a video tutorial?Vmaker video tutorial software is the best tool to record tutorial videos. The tutorial video software is an all-in-one solution that enables you to record, edit, host, and share your video tutorials from one place. Here is also a list of the 10 best video tutorial software.
If you enjoyed reading the above article, then here are a few cherry-picked ones you might be interested in reading further!
A Complete Guide On Product Videos ~ Definition, Types and Tips


