How to Record Screen with Audio - Windows, Mac and Chrome
You don’t need heavy, complicated, expensive video making software to make videos on your computer anymore. Screen recorders can do that for you in a much simpler and cost-effective way.
Moreover, you don’t have to stick to a particular OS to record videos. Your computer can be Windows or macOS. Heck, you don’t even have to worry about that - you can use a Chrome extension to make videos.
With that being said, here’s a step-by-step guide on how you can record a computer screen with audio whether you’re using a Windows or Mac computer. Or, a Chrome extension.
About Vmaker
Before we head over to the guide, we want to be clear with you.
In the following steps, we will show you how to record videos using Vmaker. Vmaker is an advanced screen recorder that is compatible with Windows and macOS, and available as a Chrome extension too.
You can try your hands on Vmaker without any upfront payment. There is no free trial; you can continue to use it for free forever, and have access only to the basic features.
If you decide not to use Vmaker, you can still read this guide. Most screen recorders have a similar layout, so it will be easy for you to get used to the tool with the help of this guide.

Record screen with audio on Mac computer
If you have a Mac computer, then this section is for you. Follow the steps below to know how exactly you can record videos with audio
1) Download the Vmaker Screen Recorder for Mac
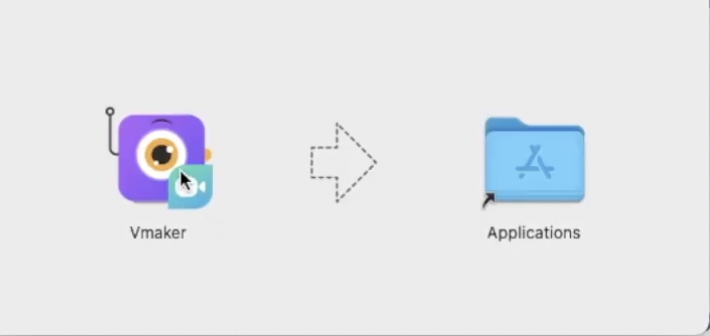
2) Create an account and sign up for Vmaker. You can also use your Facebook credentials to create the account
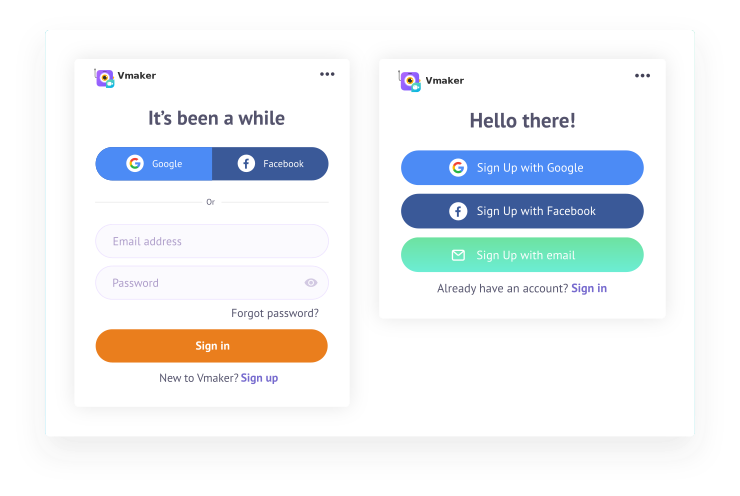
3) Complete the installation process and open the Vmaker app
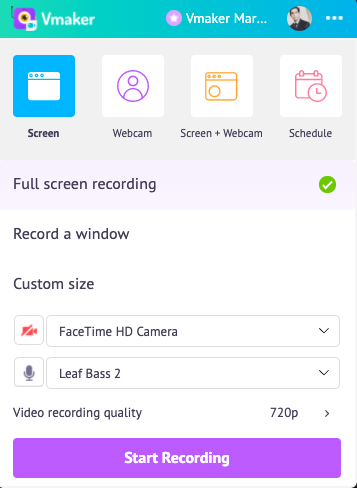
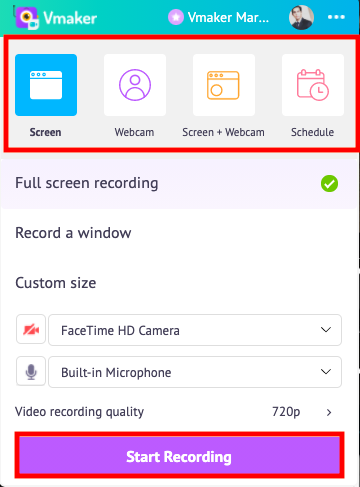
4) Check the microphone settings before you start recording
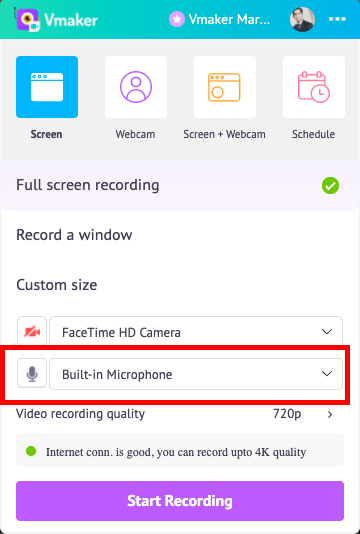
5) Choose the mode of recording and hit the “Start Recording” button
Record screen with audio on Windows computer
If you have a Windows computer, follow the steps below to record your screen with audio on Vmaker
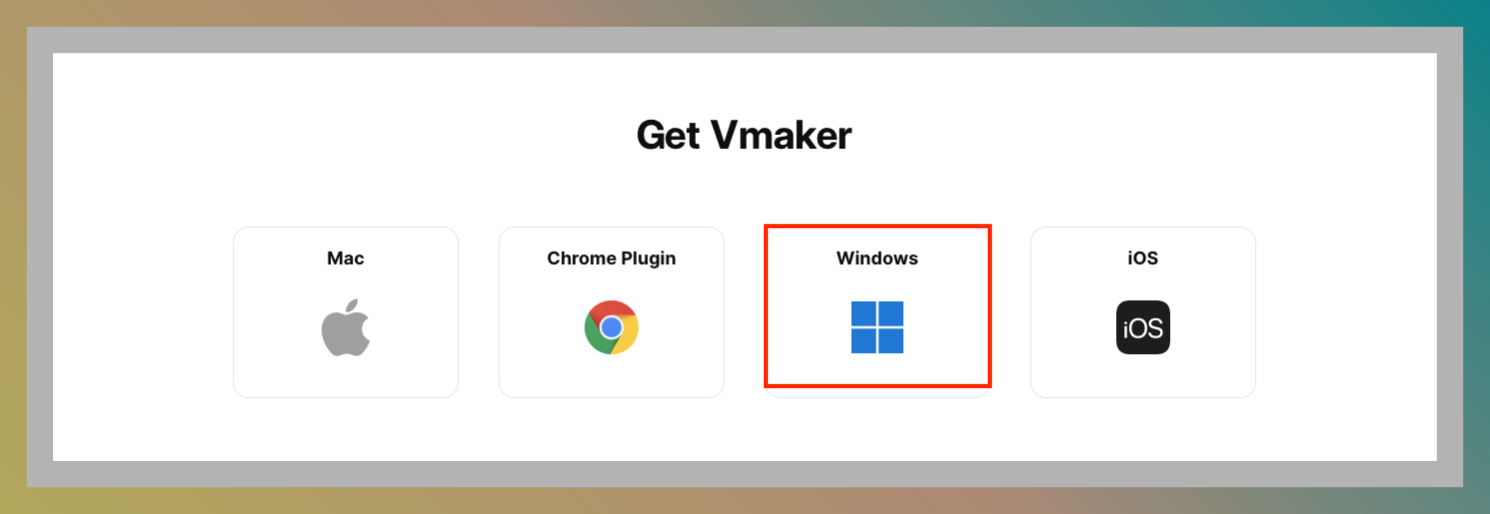
1) Download the Vmaker Screen Recorder for Windows
2) Sign up with your Gmail or Facebook account

3) Install the Vmaker app and open it

4) Check the microphone settings

5) Choose the mode of recording and hit the “Start Recording” button

How to screen record using Vmaker Chrome extension
If you enjoy browser-based tools that are easily accessible and convenient to use while working, then the Vmaker Chrome extension is going to be the perfect choice for you
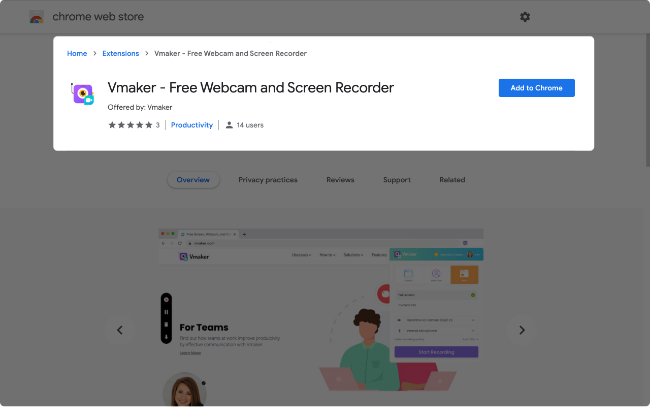
1) Search for Vmaker Chrome extension from the Google Chrome Web Store and add it to your browser
2) Sign up for Vmaker using your Gmail or Facebook credentials

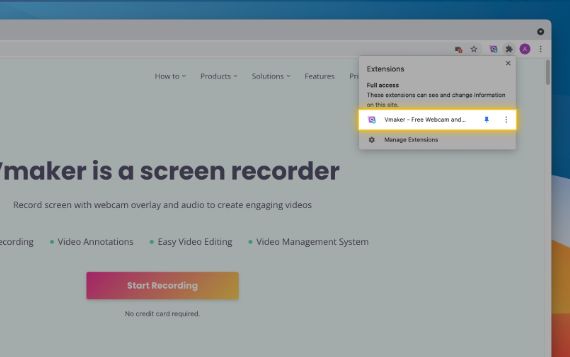
3) Choose the Vmaker Chrome extension from the browser toolbar
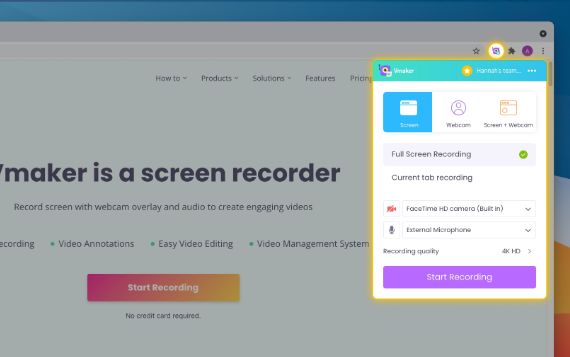
4) Check the microphone settings and choose one to record audio
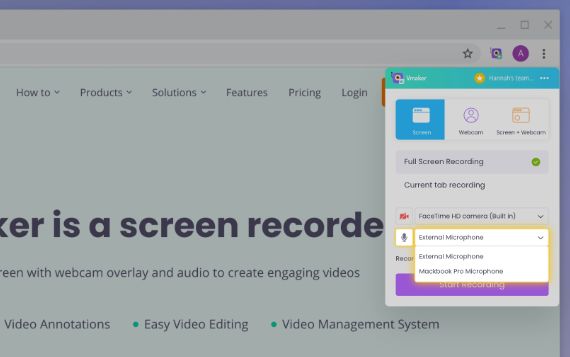
5) Choose the mode of recording
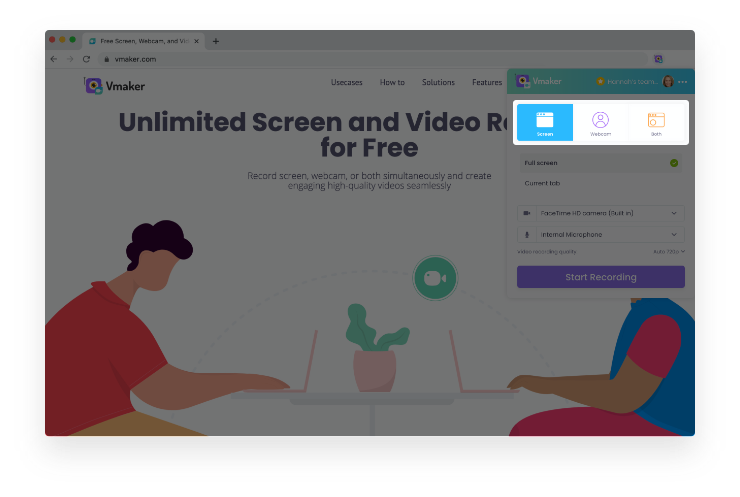
6) Start recording the video

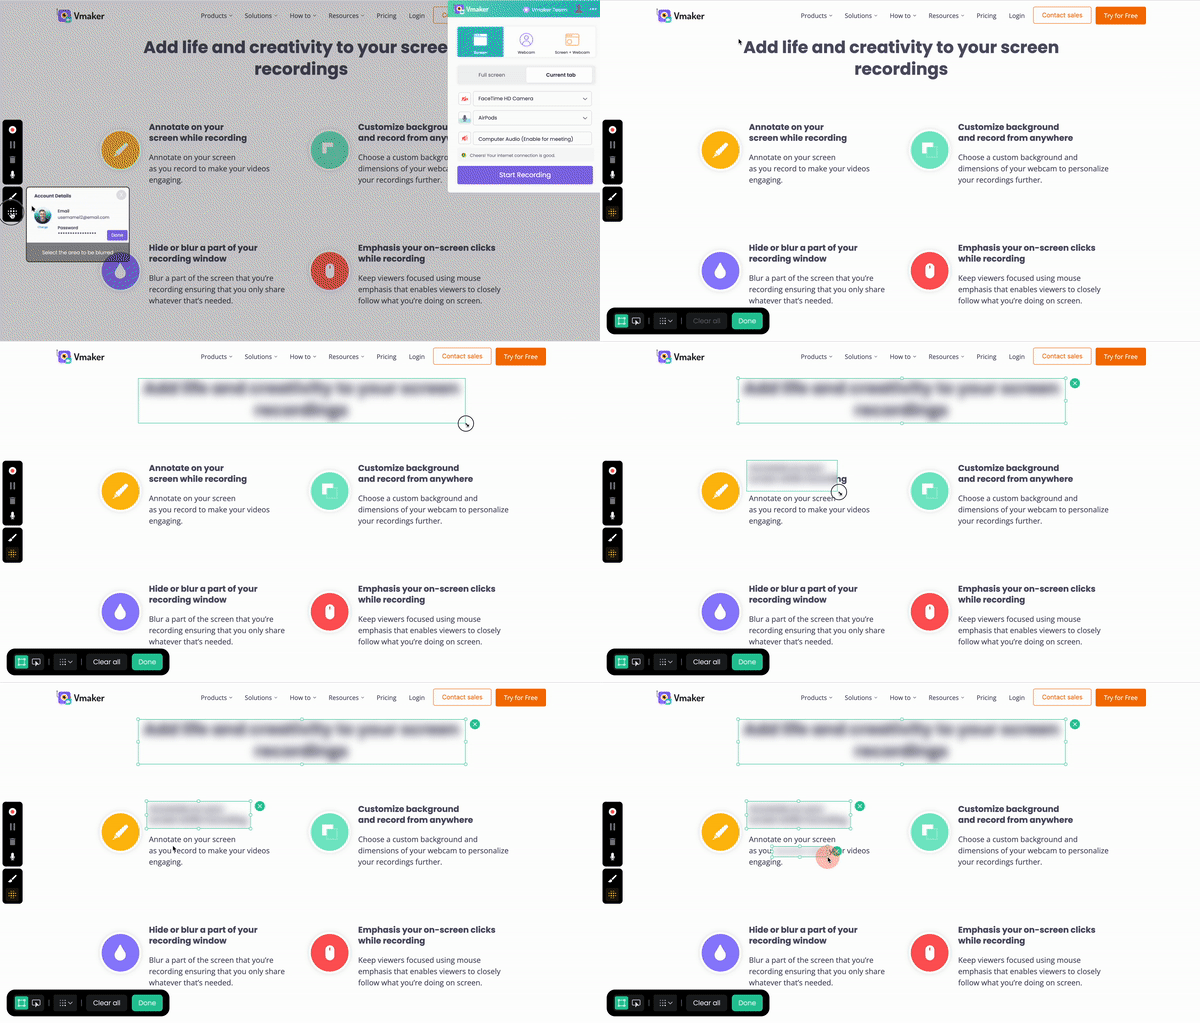
7) Use the blur tool to blur sensitive information on your screen before or during screen recording.
Recommended: Pin the Vmaker app to the browser toolbar, so that you can access it easily when you need it
Wrap up
That was all about the simple steps that you can follow to record a computer screen with audio. We covered different options - Windows, Mac & Chrome extension so that you get a wholesome idea of how screen recording works.
You can pick Vmaker as your screen recorder or go ahead with any other screen recorder. That’s entirely up to you. But, you can always refer to this blog to know what are the steps you need to take to record a computer screen with audio.
Recommended Readings:
How to Screen Record on Windows 10 with Audio
How To Add Audio to PowerPoint Presentations on Windows
How to screen record on Mac with audio for free
How To Record Internal Audio on Mac: 5 Simple Ways


