Contents
1. How to Send Videos in Gmail using Vmaker
2. How to Send Videos in Gmail (Thumbnail + Hyperlink Method)
How To Send Videos in Gmail in 3 Different Ways
Videos are easier to consume and are highly engaging. Nearly two-thirds of consumers prefer watching videos over text when they wish to learn about new products or services.
It's said that the human brain processes visuals 60,000 times faster than text. That's why we all prefer videos over text. So much so, that an average consumer spends at least 6 hours a week watching some form of video content. It has become a powerful tool to educate, communicate and entertain people of all ages. This explains why many leading businesses started using videos for promotional activities decades ago.
It's interesting to note that currently, more than 80% of businesses use videos in their marketing strategies
As more and more marketers understand the impact video content has on consumers, they've started looking for ways to take things a step further and use videos in their email marketing campaigns as well.
When we think about it, it definitely seems like a promising idea and sounds simple.
However, in reality, sending video emails is quite a tricky task. There are quite a few challenges that users face while trying to send videos via email. Some of the commonly faced challenges are stated below.
- Most of the popular email service providers like Gmail, Outlook and Yahoo don't support embedded videos
- Gmail doesn't allow users to attach files that are larger than 25 MB.
Even though there are a few limitations, there are a few options we can try to make this work! You can now learn how to send videos in Gmail by just following the simple instructions discussed in the post.
Here are the topics that are covered in the post.
- Learn how to send a video through Email using Vmaker
- Learn how to send a video through Email using the (Thumbnail/Gif + hyperlink) method
- Learn how to send a video through Email using Google Drive
1. How to Send Videos in Gmail using Vmaker
Before we get into the details of how to send videos in Gmail using Vmaker, let's clearly understand what Vmaker is and how it can help us?
Vmaker is a screen and webcam recording software that can be installed as a Chrome extension.
While using Vmaker, you needn't worry about searching for a hosting platform to host the recorded videos as Vmaker recordings can easily be hosted on its own platform. As an additional bonus, it also displays the number of hits a video gets to help content creators keep a track of the number of views. This feature will be of great help to marketers as they can easily track and strategise their marketing campaigns effectively.
Now that you have an understanding about Vmaker, let's dive in and learn how to send videos in Gmail in a simple 5 step process.
Step 1: Download the Chrome extension
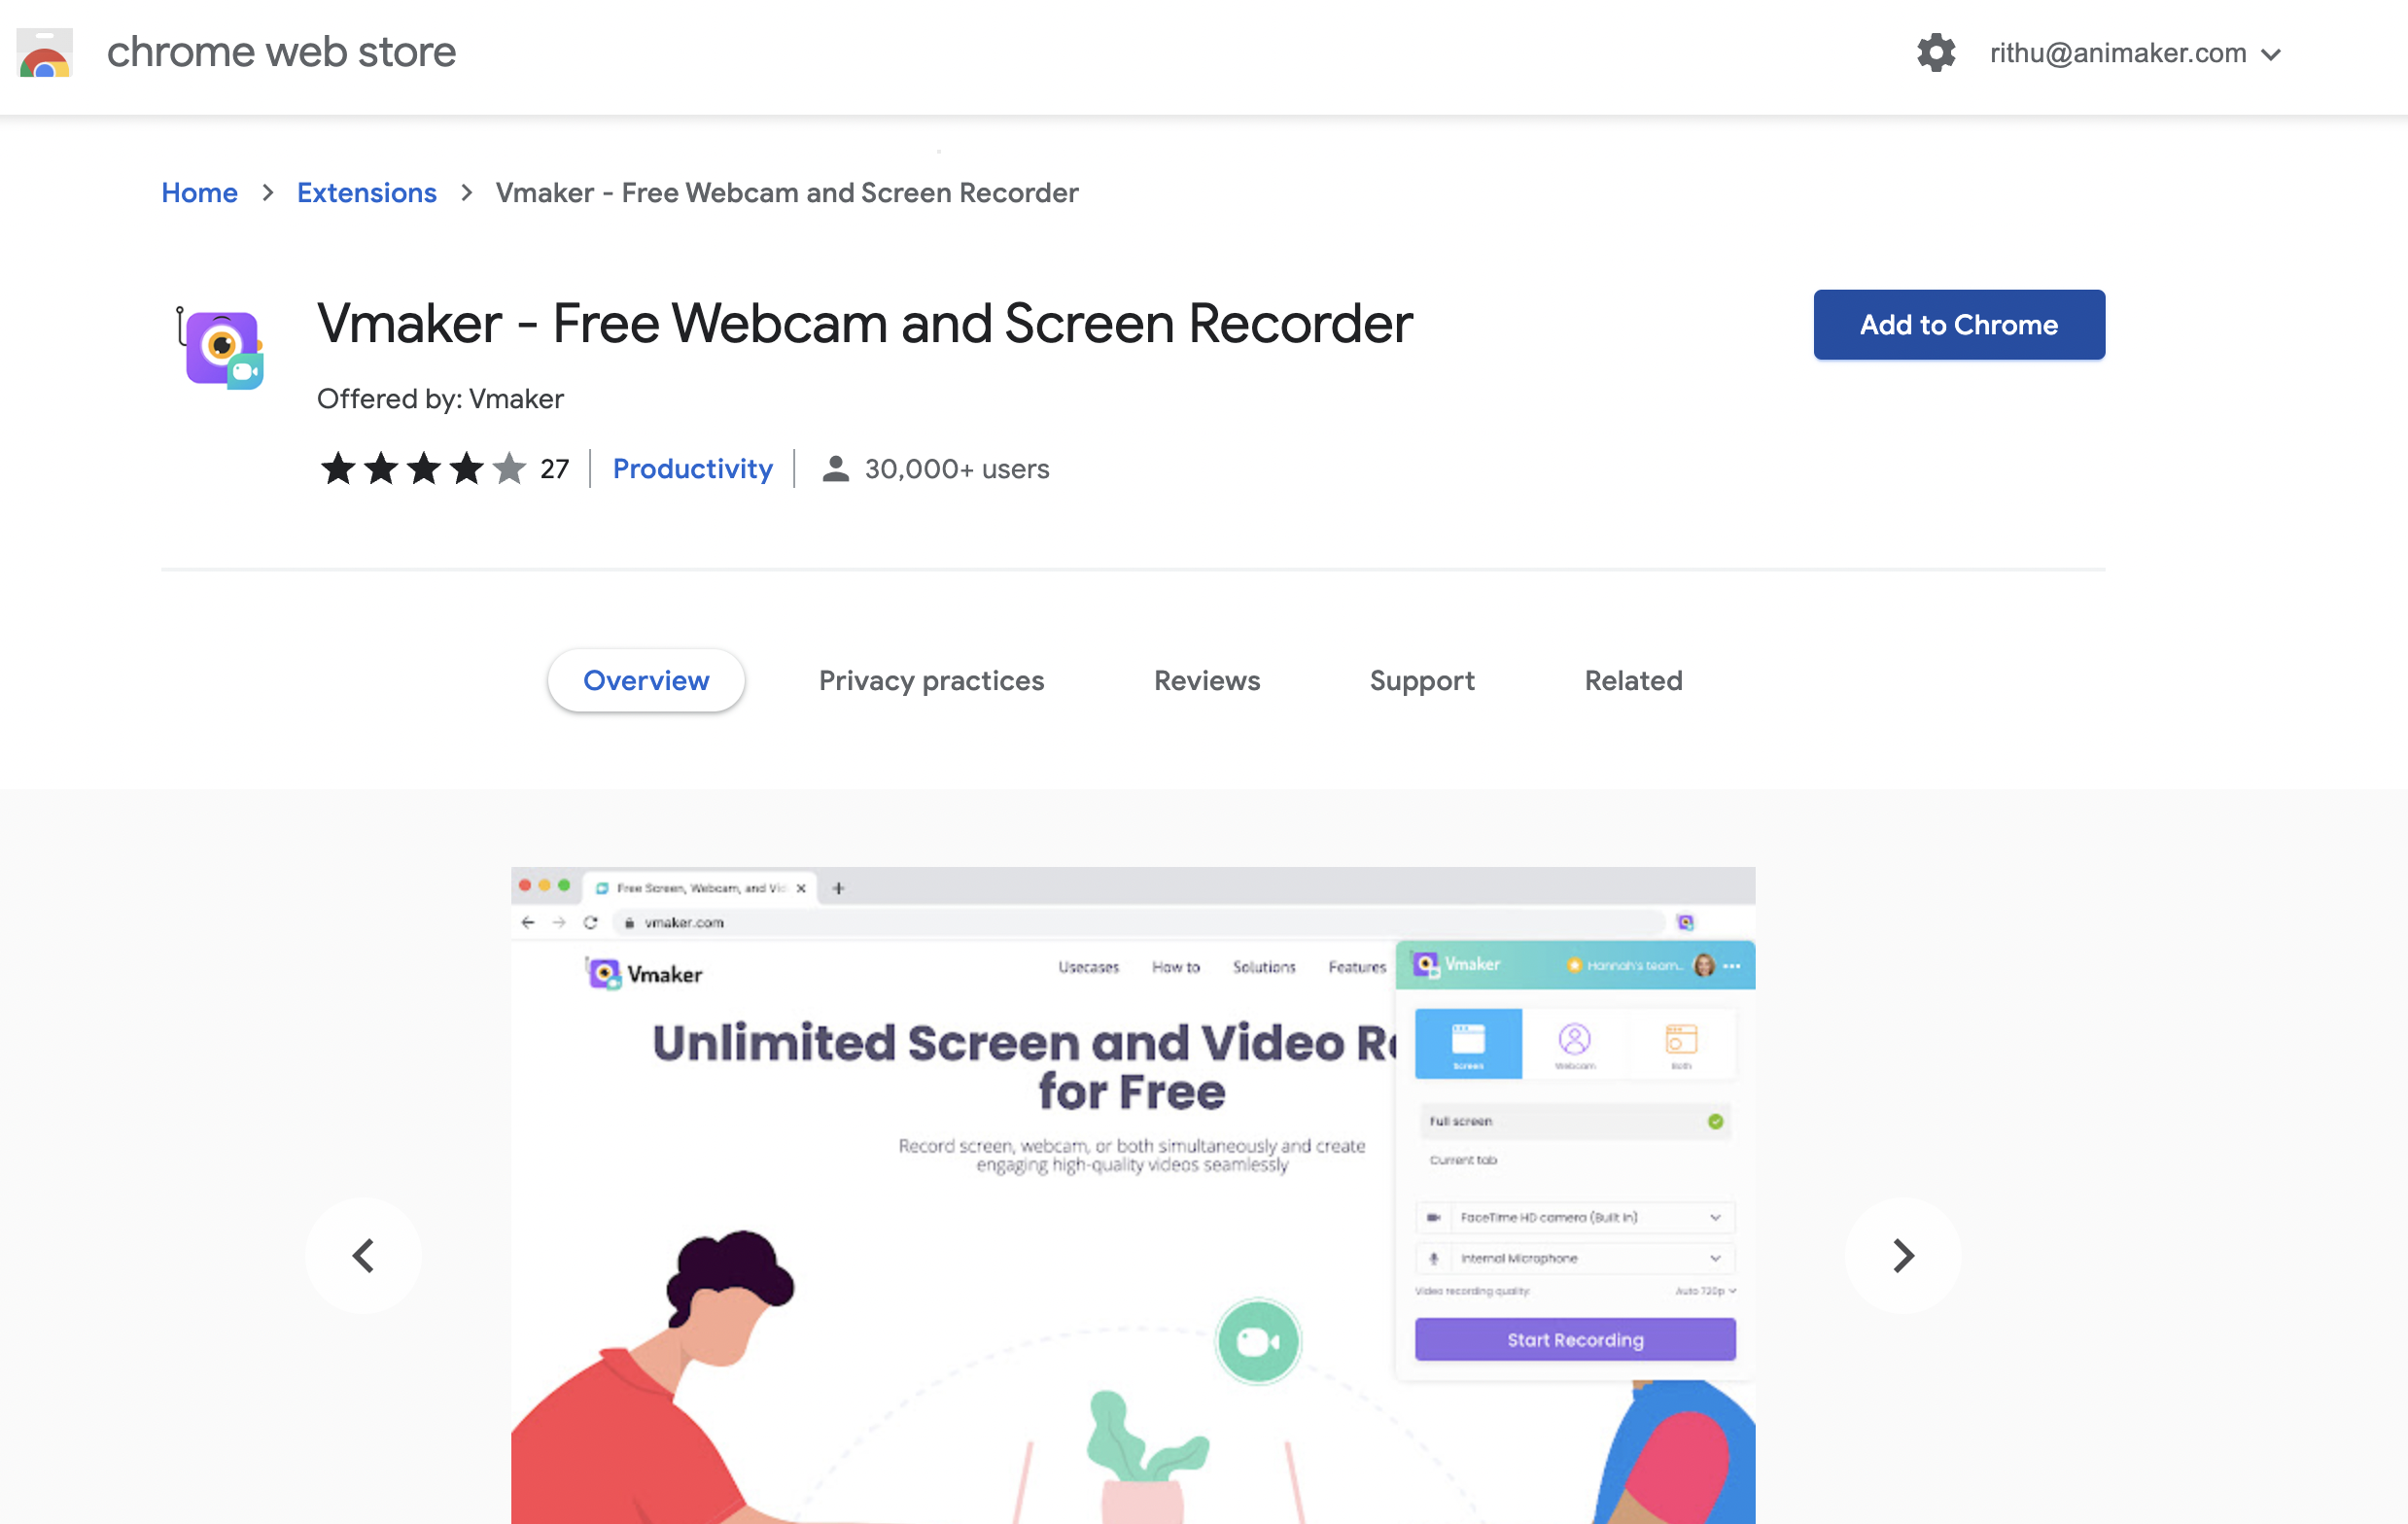
The first step is to install Vmaker's chrome extension to your browser. So, head over to the 'Chrome Web Store' and add the Chrome extension to your browser and pin it. This helps you access the video recorder with just a single click and allows you to record across various tabs and windows easily.
Step 2: Sign up for Vmaker
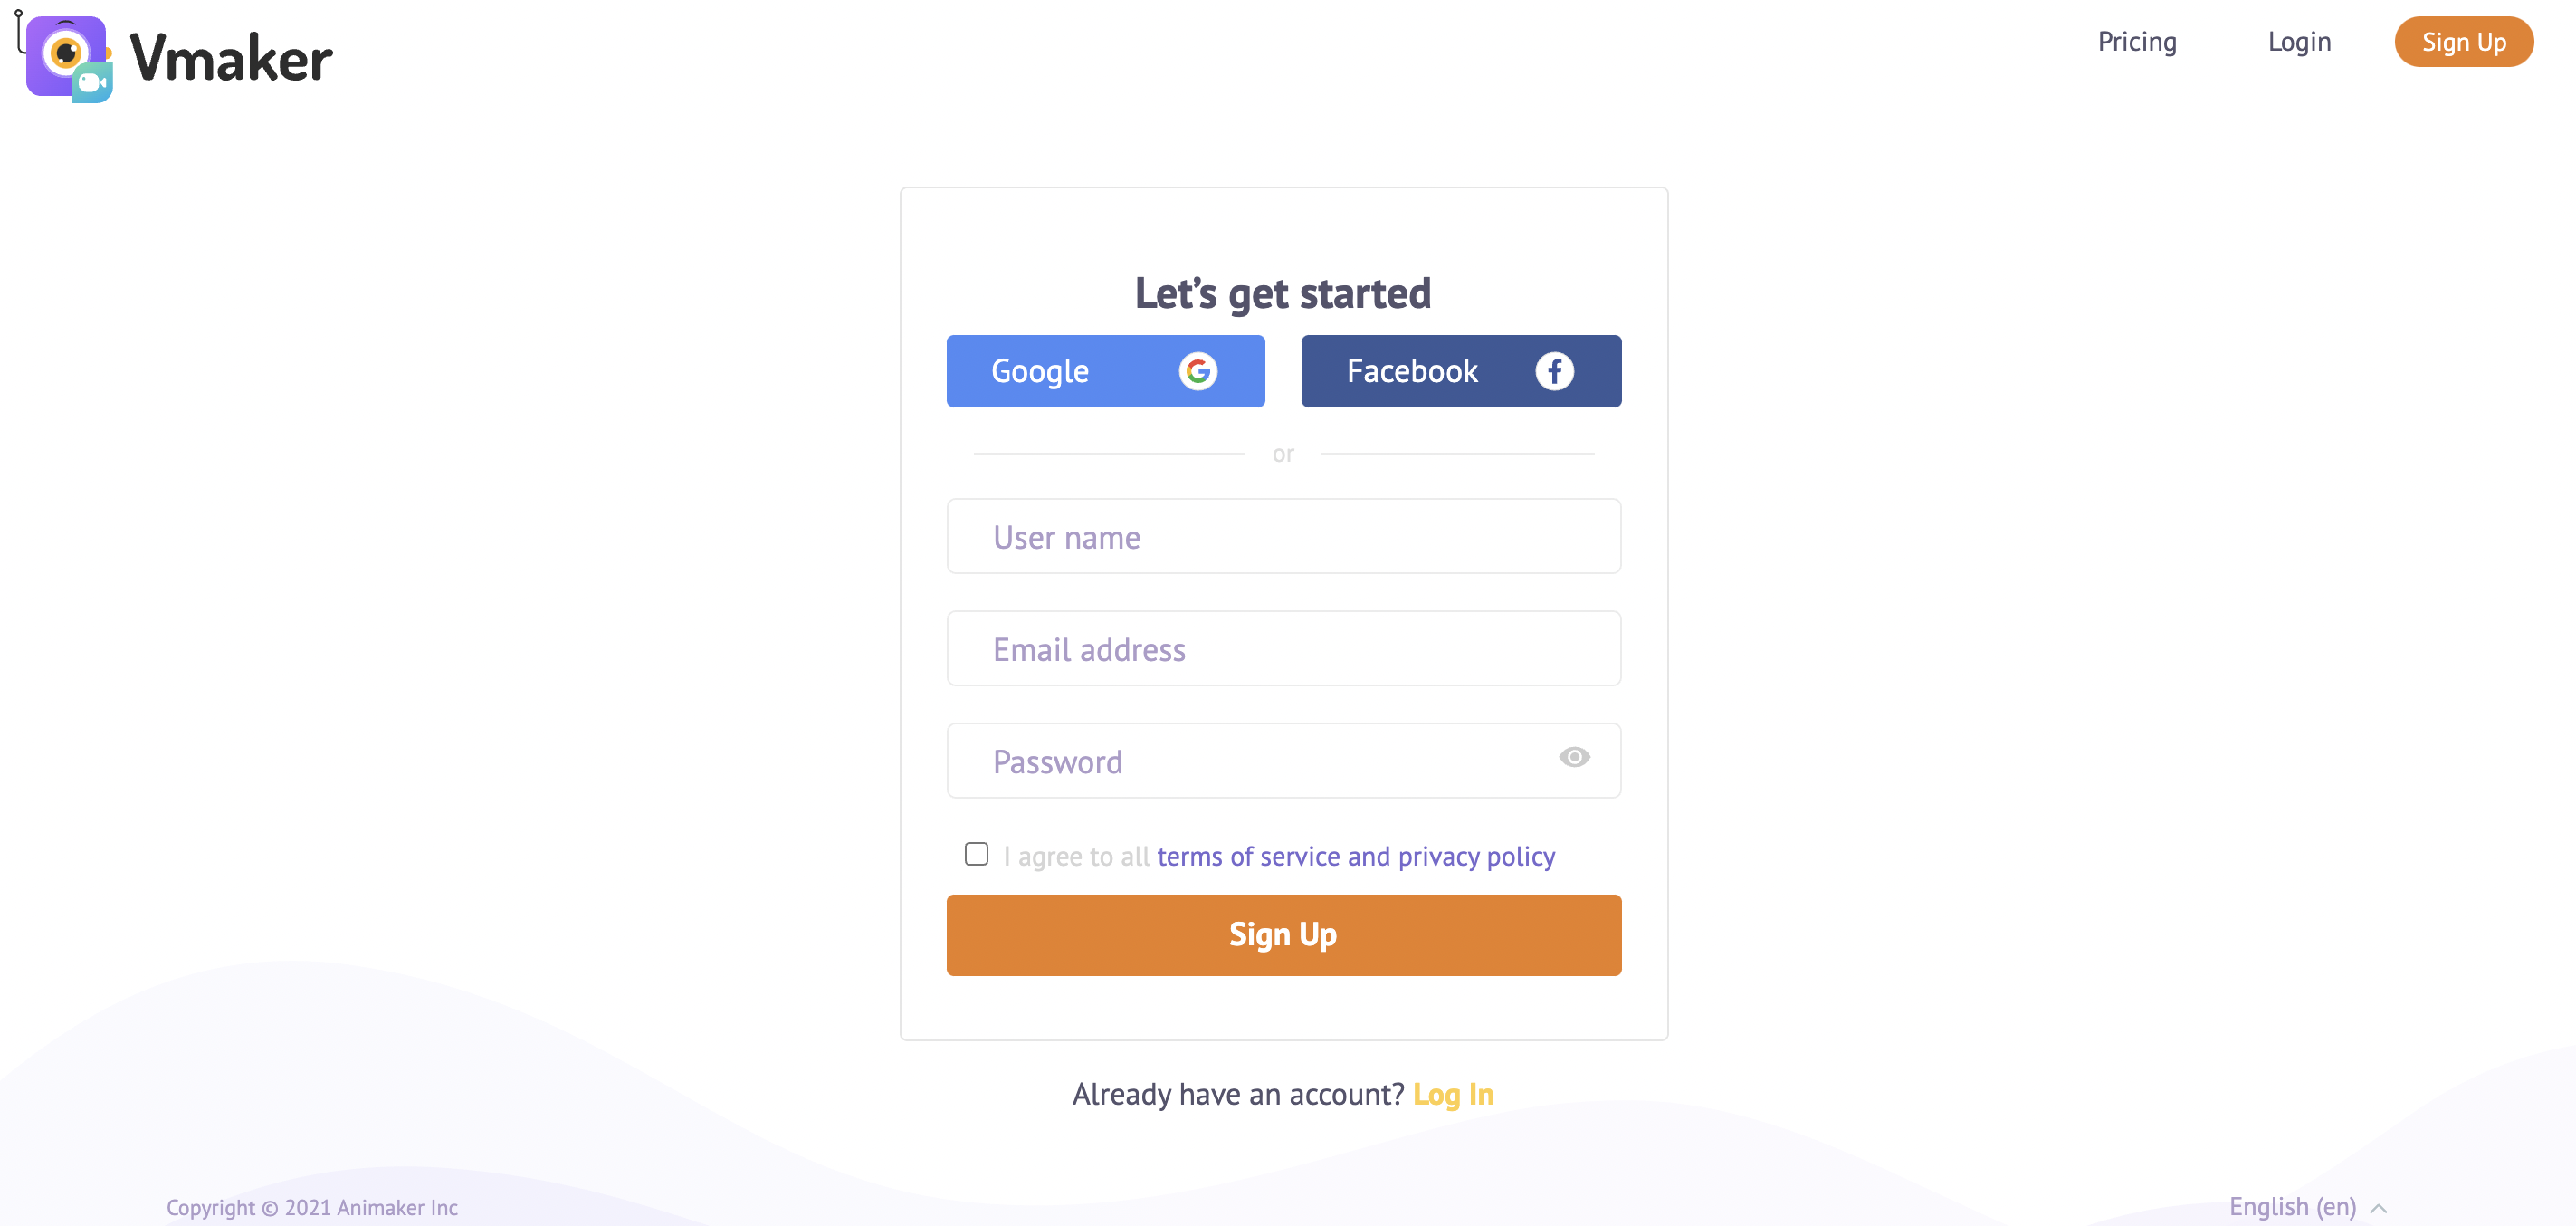
The next step ahead is to register and create your account. Once you've created your account, you can easily start recording whenever you want by just clicking on the Vmaker extension. All the videos recorded will automatically be saved in your dashboard.
Step 3: Record a new video or insert a recent recording in Gmail
The next step in this process is to attach the video to the body of your email. In order to do this, head over to Gmail and click on the 'Compose' tab. Once you open your email window, you'd be able to find the 'Vmaker icon' next to the 'Send' button. When you click on the icon, you'd be asked to choose between two options.
- Record a new video
- Insert the last recording
i) Record a new video: If you haven't yet recorded the video, choose the 'Record a new video' option and start recording your video.
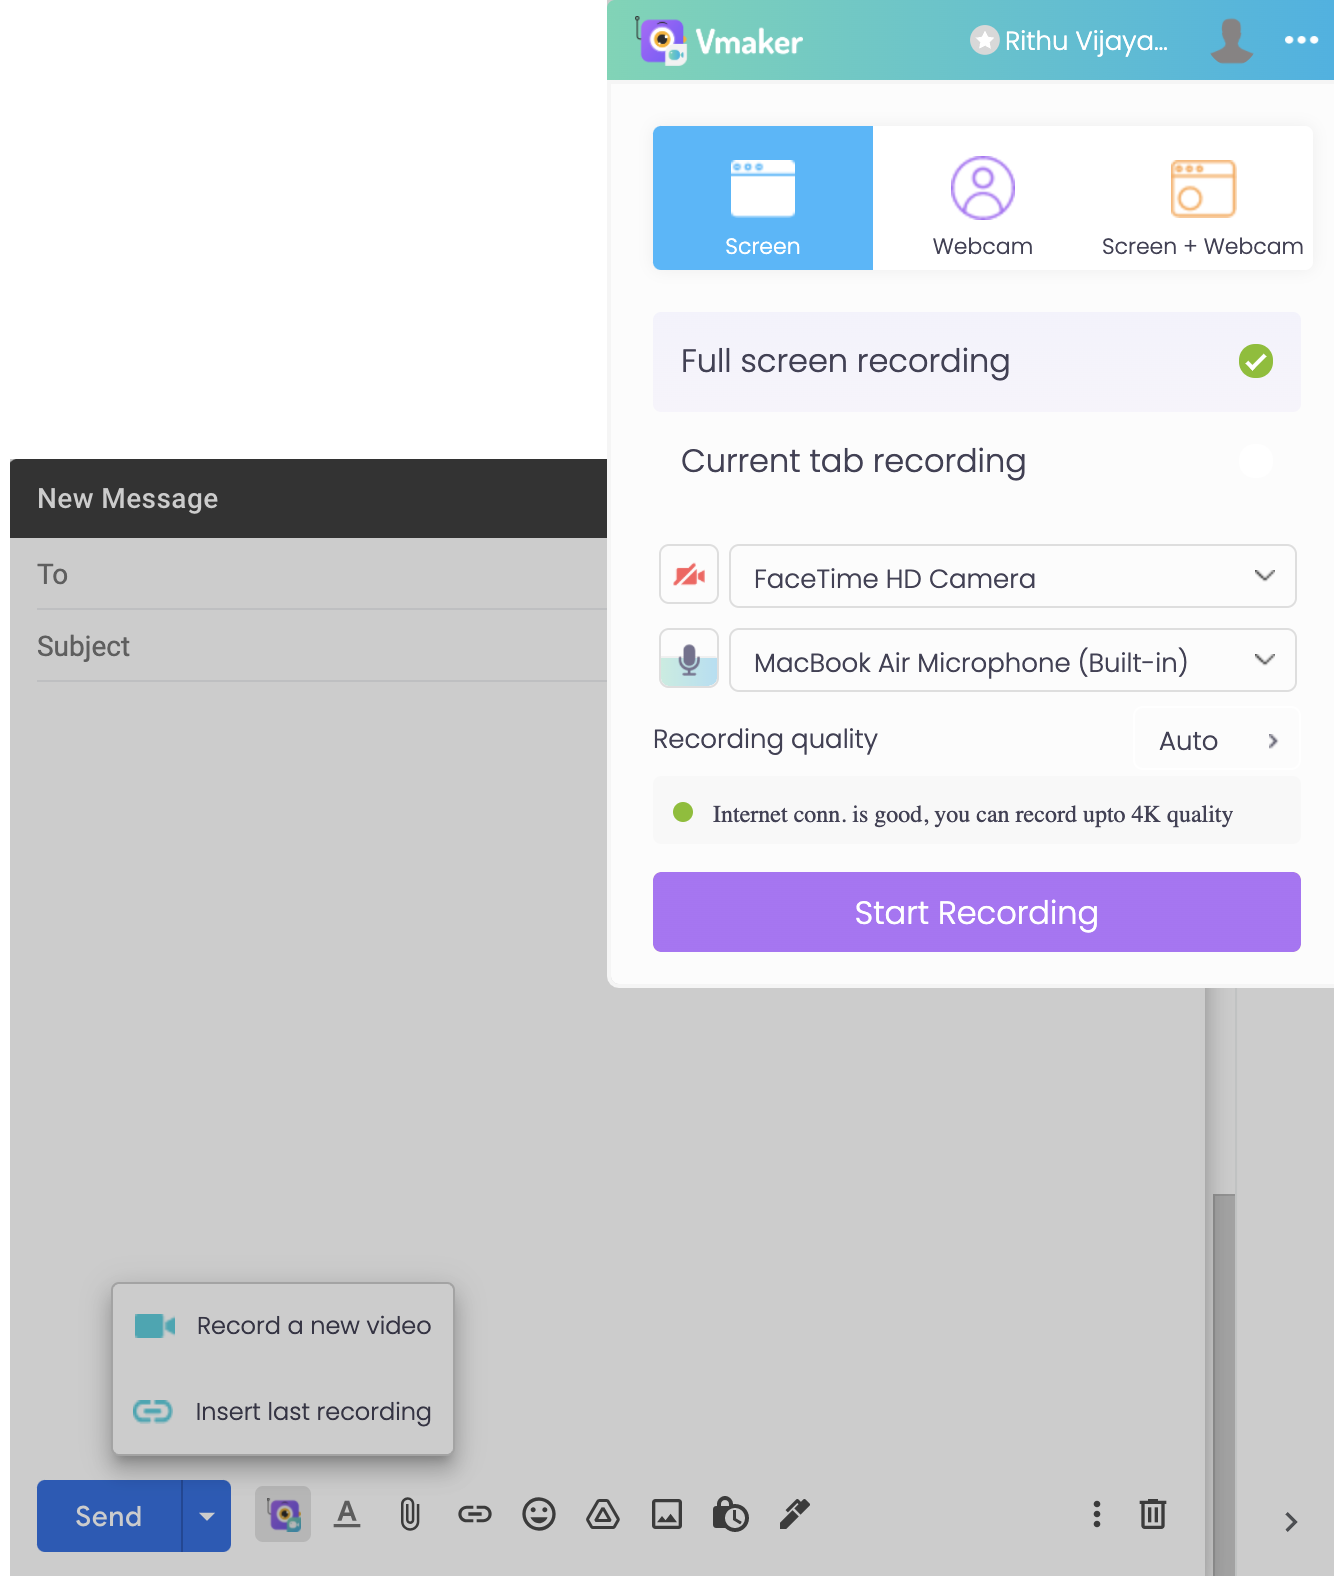
Once you are done recording the video, you can click on 'Stop Sharing' to stop the video. Now, you will be directed to a pop-up box where you will have to fill in the title of your video.
Fill in the video title and click on 'Insert Recording' to proceed further.
ii) Insert last recording: If you'd like to attach a recent recording, select the 'Insert last recording' option and add it to your email.
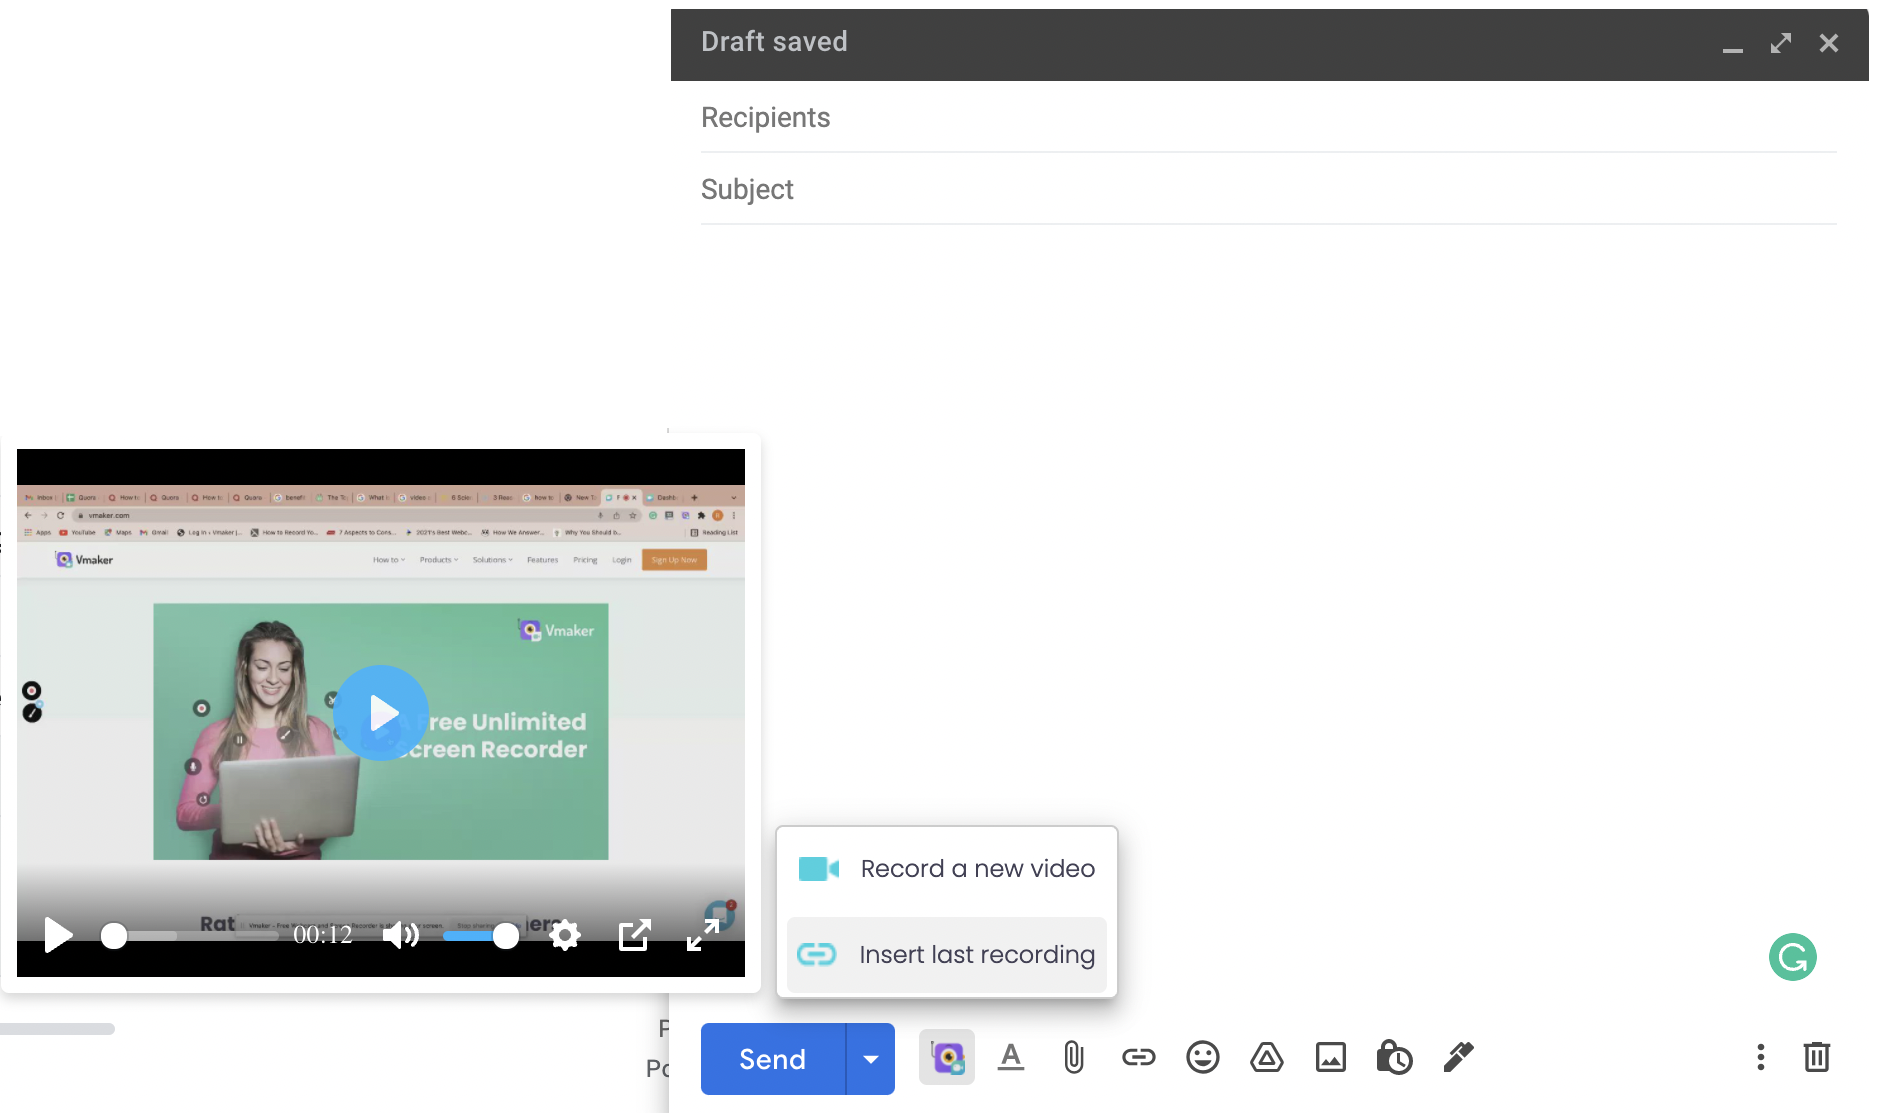
If you'd like to change the name of your recording, click on the video recording, choose 'Change' and change the title of your video to your preference.
Note: Make sure you also add a catchy CTA and hyperlink it to the video. This helps recipients click on the video in case they skimmed through the video link.
That's it. You are now free to 'Share' your email. When the recipients click on the video, they will be directed to the original video.
2. How to Send Videos in Gmail (Thumbnail + Hyperlink Method)
This option is the most commonly used option by marketers and gives recipients a clear idea that there's a video attached in the body of the email.
In this method, you are just going to attach the image or gif to the body of your email and hyperlink it to the original recording. Attaching gifs to your email gives the recipients a small sneak peek about the video and entices them to click on it.
However, be mindful that if the email contains too many links or large attachments, it might be flagged by the Gmail spam filter, reducing the chances of it reaching your recipient’s inbox.
i) Image + Hyperlink
If you're looking forward to adding an image, you can easily take a screenshot of your video thumbnail with a play button and attach it to the body of your email. Adding a play button sends a signal to your recipients that there's a video attached and will make them click on the video.
Follow these three simple steps to get your job done.
Step 1: Add the screenshot (video thumbnail) to the body of your email as you usually do by clicking on the 'Insert photo' icon.
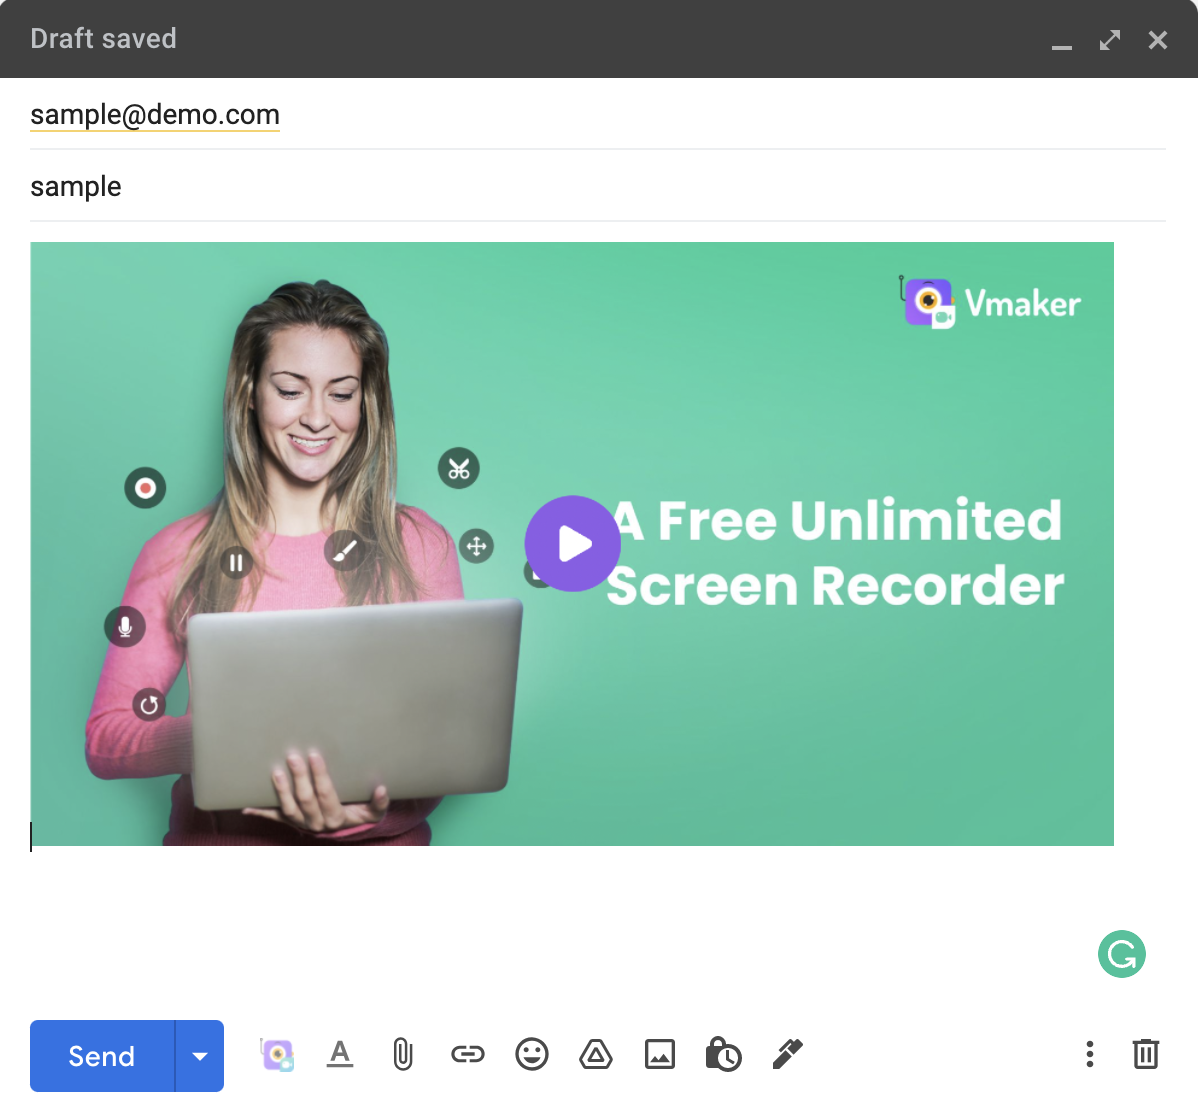
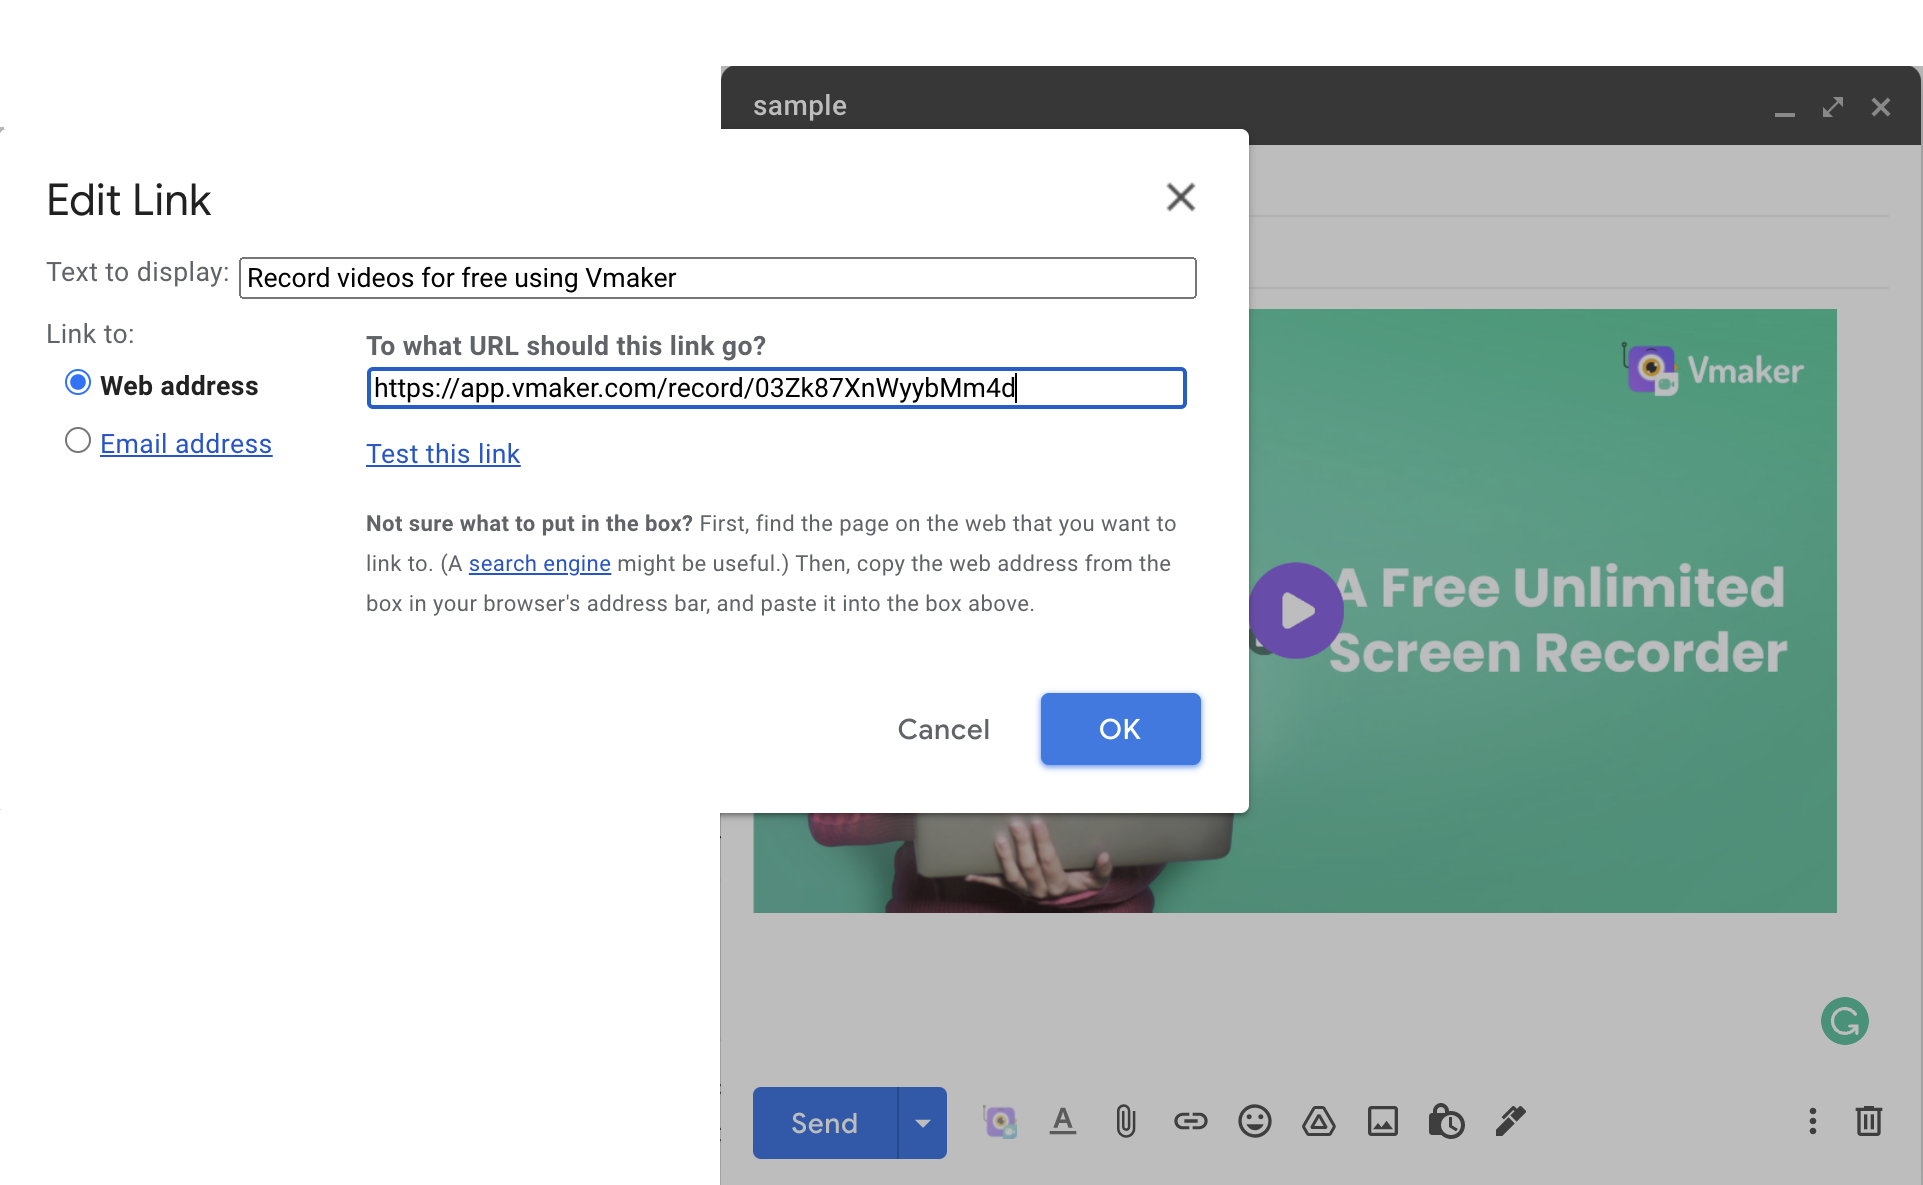
Step 2: Once you've added the image, you can select the image and hyperlink it to your recording.
You will be directed to a pop-up box where you will have to enter the video title and web address (URL of your video recording). Fill in the necessary details and click 'OK'.
Step 3: You can now write the body of your email, add a catchy CTA and click on 'Send'.
ii) Gif + Hyperlink
If you're choosing this method, you can simply record a few seconds of your video as a gif, and add that to the body of your email. Then, you can proceed to hyperlink it to the original recording as we did earlier.
There are quite a few gif recorders available online for free. You can use any one of those or simply use Vmaker.
We take you through this example with the help of Vmaker as it allows us to capture gifs for free and is watermark-free. Without further ado, let's go through the steps in detail.
Step 1: Start by recording a few seconds of your video using the Vmaker screen recorder. In order to do this, sign up and register for Vmaker and install the application as a Chrome extension. Now, you can start recording the best portions of your video that you'd like to add as a gif for the email. Once you are done with recording, you can access the recording from Vmaker's dashboard and edit it.
Step 2: Edit the unnecessary sections of your video or enhance you video, just click on the 'Edit' option in the dashboard and start editing using Vmaker AI video editor.
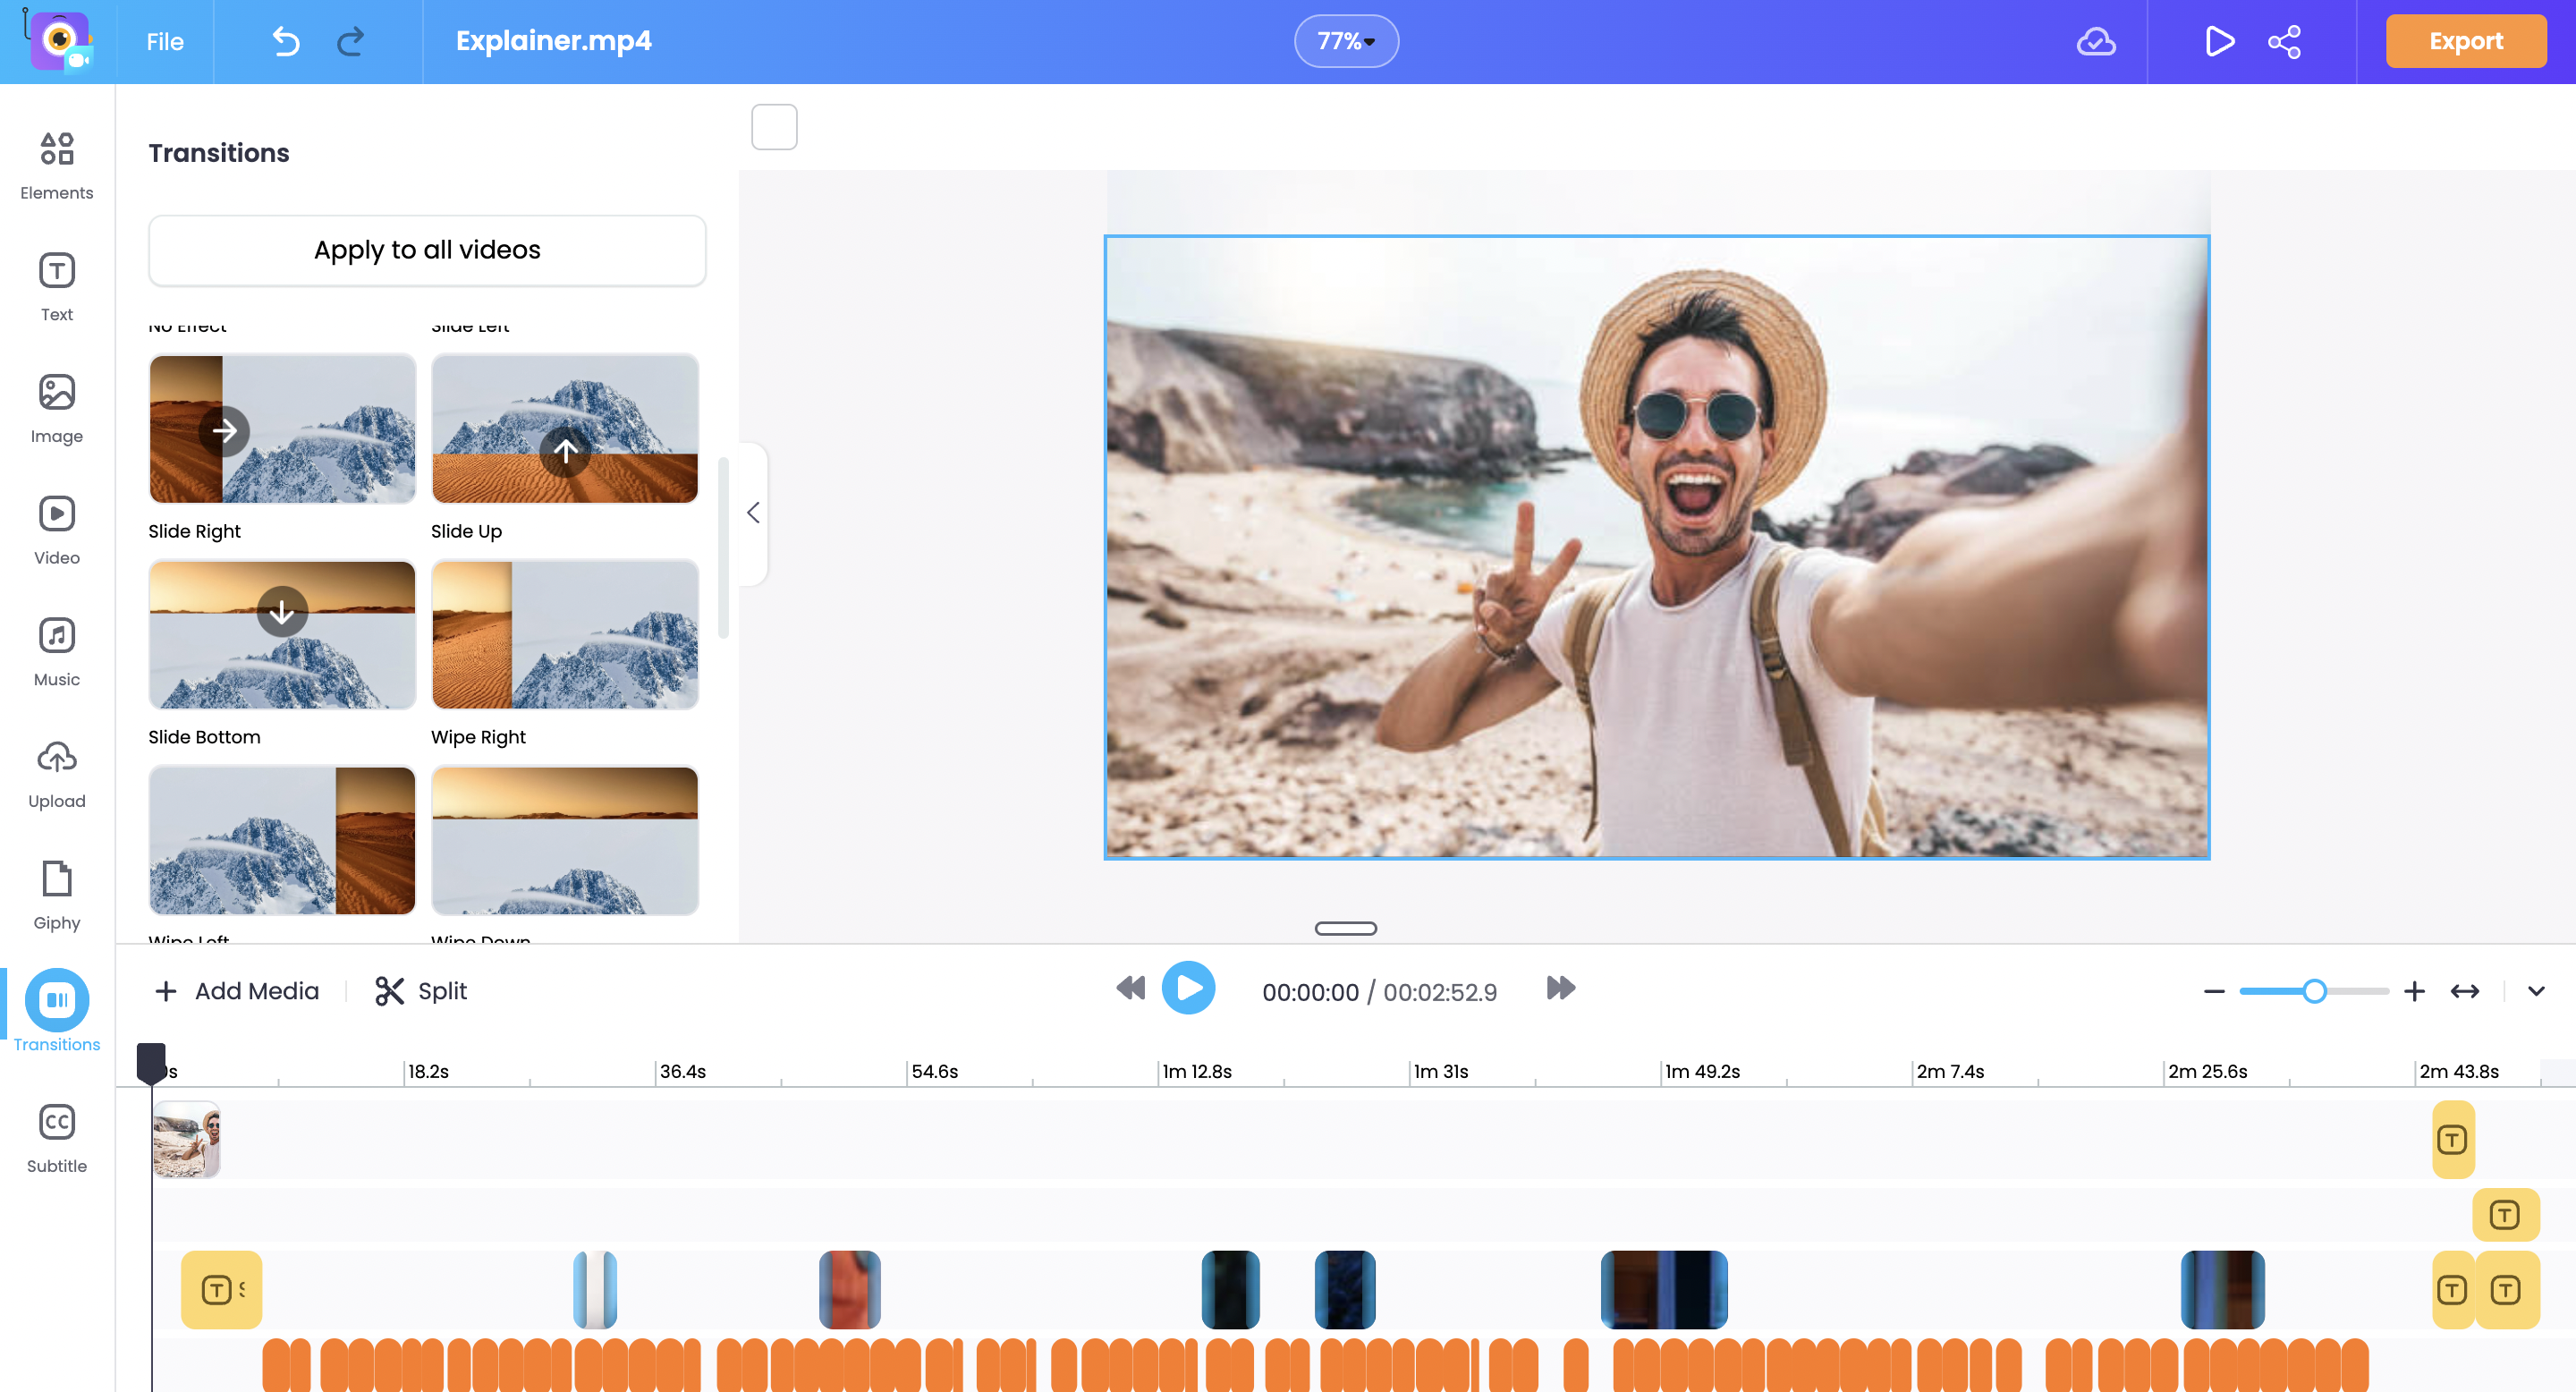
Note: An appropriate length for the Gif teaser would be 7 - 8 seconds.
Step 3: You can now head over to your Gmail account and click on the Vmaker icon in your email window. Select the 'Insert last recording' option and insert the gif recording to the body of your email.
Step 4: Now, you can select the gif recording and hyperlink it to the original video recording.
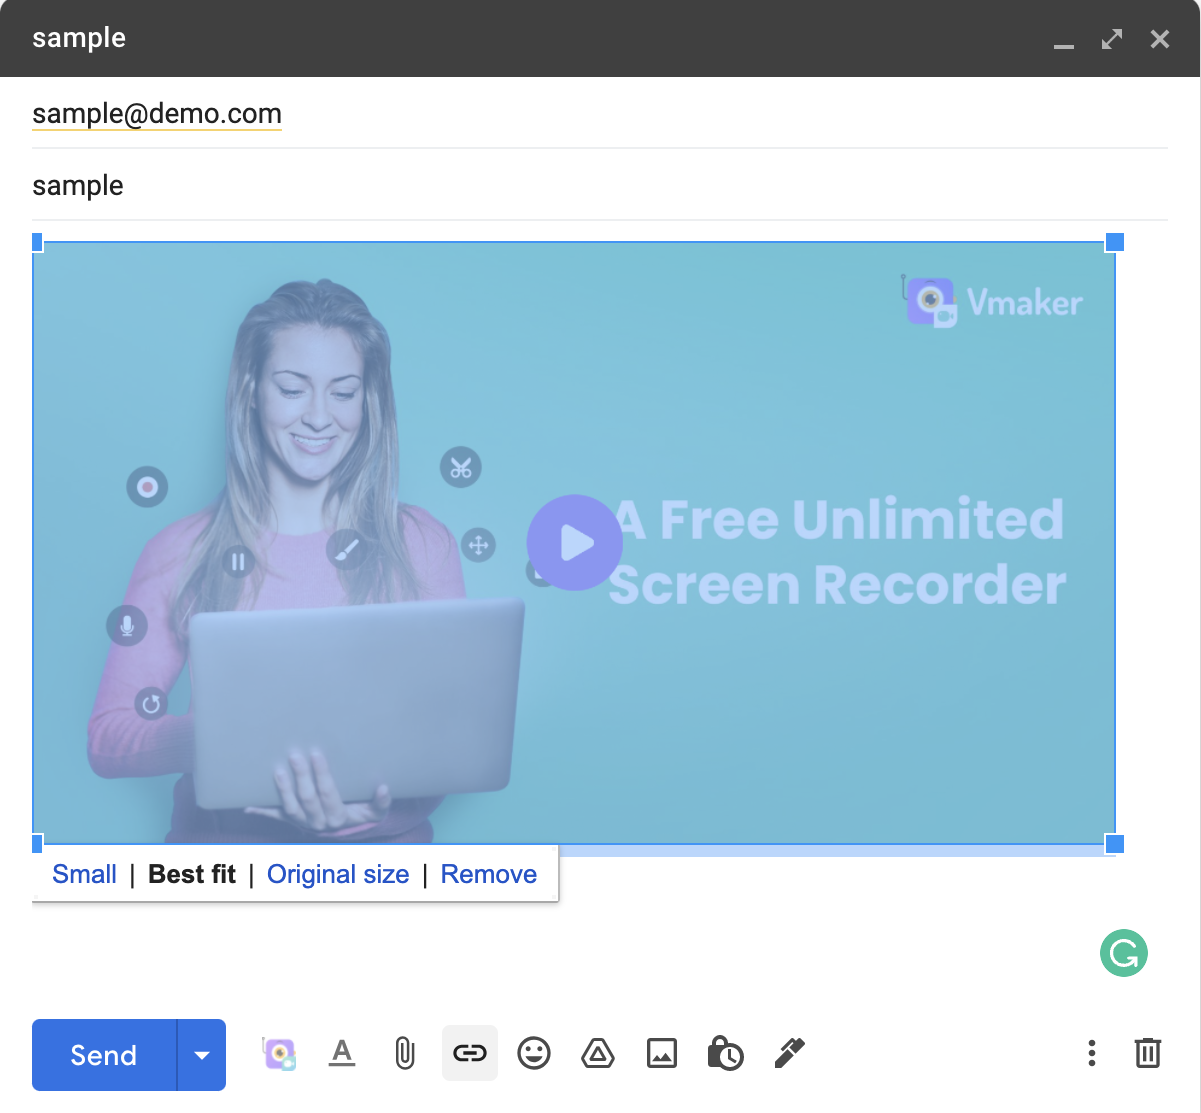
Make sure you enter all the necessary details like video title, website URL (link of the original video recording), etc.
When the recipients click on the gif, they will be directed to the original video recording.
Step 5: Add a catchy CTA and link it to your original recording. This helps recipients click on the link in case they missed clicking on the video.
3. How to Send Videos in Gmail using Google Drive
This is the last method on our list. We all know that Gmail doesn't allow its users to share files that exceed the 25 MB mark. So, people use this method as an alternative while they try to send large files.
If you choose to follow this method, you should be aware of the fact that you can't add images or gifs to the video.
In order to add videos as an attachment from your drive, follow these simple steps.
Step 1: Upload your video from your computer to your drive
Step 2: Head over to Gmail, click on 'Compose' and select the Drive icon to insert files from your drive to the body of your email.
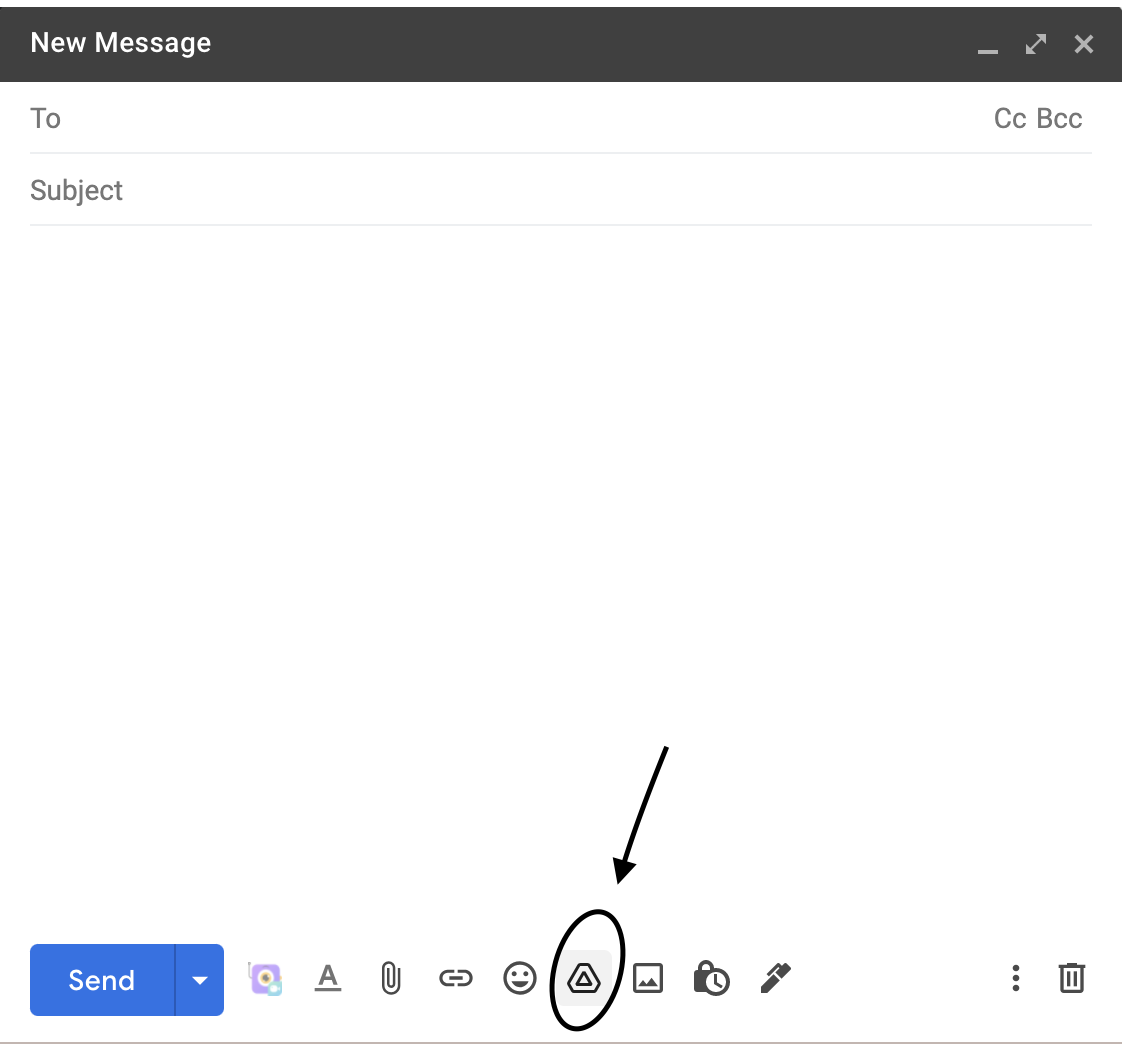
Step 3: Once the video has been uploaded, add the CTA and other necessary details and click on 'Send'.
If none of the above tricks works for you, as a last resort, you can try to copy-paste the URL in the body of your email. While you do this, Gmail automatically displays the thumbnail of your video as an attached document in the email. While it informs recipients that there's a video attached, it's also worth noting that it isn't the best option available out there.
That's it. We shared the three best approaches we use while sending video emails with you.
So, what more are you waiting for?
Now that you've learnt how to send videos in Gmail in simple steps, choose any one of the approaches that suit your requirements and start sending those video emails!


