10 Best Practices to Master Your Screen Recording Like a Pro!
A screen recorder is a powerful tool that can be used to create a variety of content - like tutorials, live streams, gameplays, product demonstrations, and so much more. However, if you're not careful, your videos could turn out choppy, boring, or even unusable.
To help you avoid such mistakes, in today's post, we'll be sharing 10 screen recording best practices that will help you master the art of screen recording like a seasoned professional.
Let's get started!
10 Best Practices To Master Your Screen Recording
1. Start with cleaning up all your background applications
Before you start recording your screen, it's important to close all the unwanted applications running in your background. This ensures you have a smooth recording process without any disturbances in the form of notifications and pop-ups.
2. Invest in a high-quality webcam & microphone
A high-quality webcam and microphone will make a huge difference in changing the overall quality of the video.
While looking for a webcam, make sure you pick a tool that captures your face clearly with the appropriate amount of lighting.
Similarly, while choosing your microphone, make sure you pick a device that captures your voice with clarity eliminating all the unnecessary background noises.
3. Draft a plan & decide on the length of the recording
It's always advisable to draft a plan before you start recording your video. A well-drafted script streamlines your entire video creation process. It also helps you avoid unnecessary fillers, reduce the number of retakes, and fasten your video editing process.
4. Do a test run before you record for real
Once you install the screen recording software to your device, you can start using the software to record a few sample videos. By doing this, you will get a reasonable idea about its recording features, ease of use, audio quality, and video quality.
5. Make use of all the in-built features
A lot of screen recording software online comes with a ton of cool features. For instance, Vmaker provides a ton of cool frames, filters, and virtual backgrounds that can be added to your webcam bubble. Additionally, it also lets you customize your recording with your own brand colors and logos.
Here’s a sample screen recording tutorial from Vmaker that teaches you how to make the best use of Vmaker’s features.
6. Record in standard dimensions
If you wish to upload your videos to social media platforms like YouTube, Instagram, or TikTok, you should record your videos in a dimension that suits your desired hosting platform.
Pro Tip: To resize your screen recordings to multiple dimensions, try using a screen recorder that comes with a built-in editor like Vmaker. With Vmaker's Online Video Editor, you can easily resize, change video speed, rotate, flip, trim, merge, and export your videos for free within seconds.
7. Highlight important sections of your screen to increase engagement
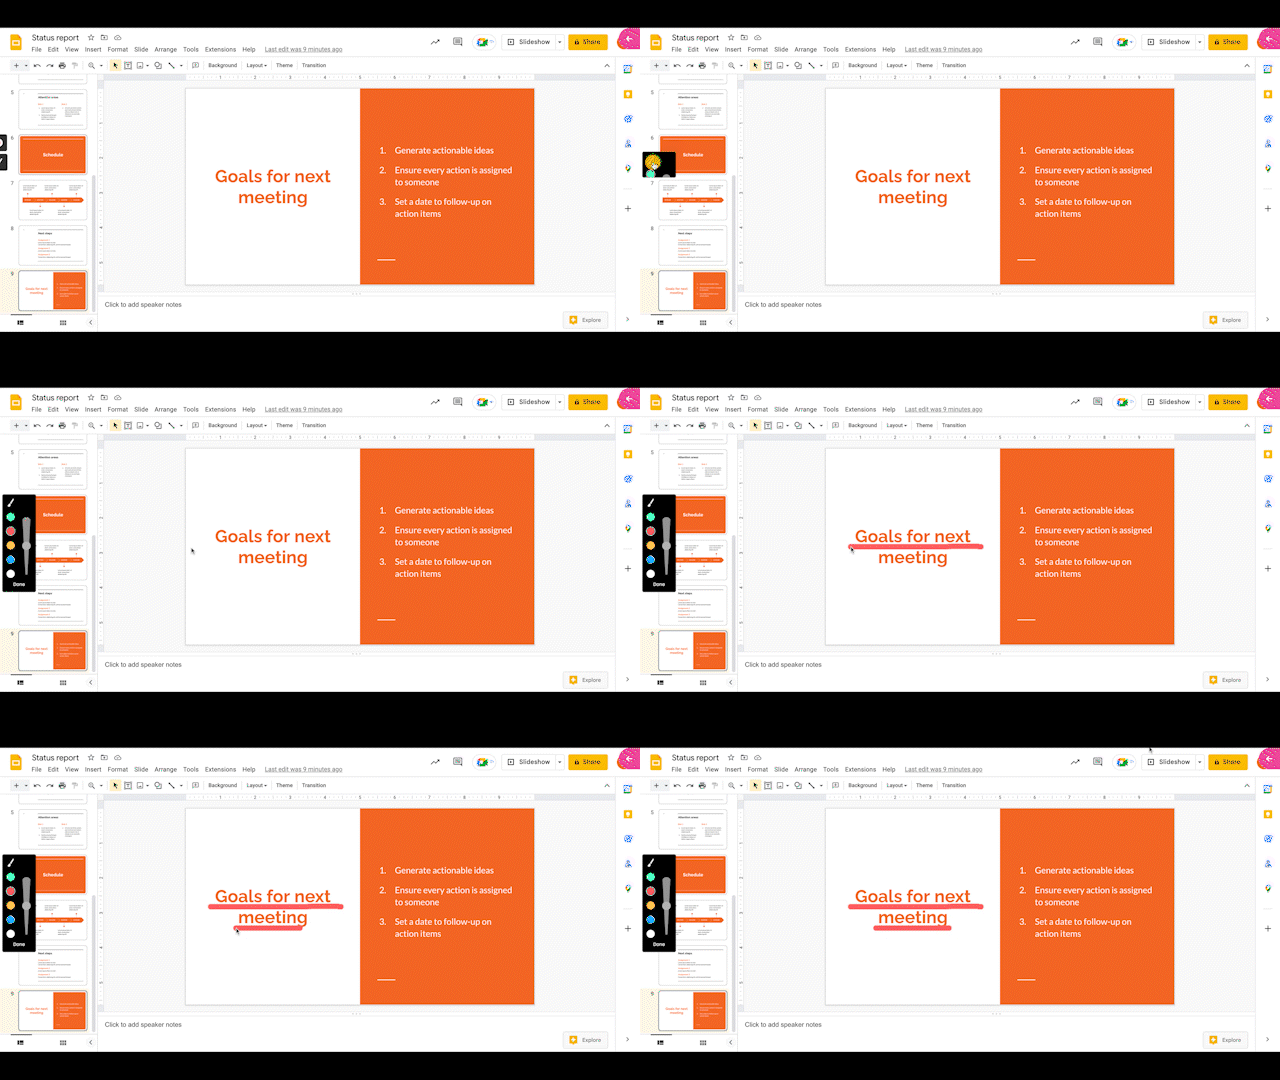
Some screen recording tools online also come with screen annotation tools. You can make use of them to highlight and mark important sections of your screen while you record. This will help viewers follow your instructions clearly and keep them glued to your screen.

8. Include a call-to-action
Never miss out on adding a clear and concise call-to-action. By doing this, you let your audience know where they should be heading next after watching your video. If you're recording your video for YouTube, you can add a CTA that asks viewers to subscribe to your channel.
Similarly, if you're recording an educational screencast that's followed by a quiz, you can add a CTA that links to that particular quiz. You can even make a QR code with a CTA that links to your quiz allowing your audience to effortlessly take the quiz or subscribe to your YouTube channel on their mobile devices
9. Cut out dead moments & other unnecessary parts
Remove awkward pauses and fillers from your recording with an editor. Nowadays, most screen recording software online come with built-in video editors. You don't even have to invest in an external video editing software to remove unnecessary sections from your recording.
Additionally, if you wish to enhance your screen recording a bit further, you can try adding cool transitions, background music, intros & outros to your recordings. These elements will definitely help improve the overall quality of your videos and make them more appealing to your audience.
Bonus: Here’s a quick video that teaches you how to edit screen recordings seamlessly.
10. Export your recording & promote it on socials
Once you're done with the editing process, it's time to export and share your recording with your audience. A few screen recorders like Vmaker and ScreenPal will even allow you to upload your videos directly to social media platforms like YouTube, Twitter, Facebook, Twitch, etc.
Conclusion
Screen recording can be a lot of fun, so relax & enjoy the process. The more you enjoy it, the more it will reflect in your content.
We hope these tips help you create professional screen recordings that engage your audience and help you grow your channel.


